Have somewhere to be in an hour? Nothing to wear?
No problem – you can whip this baby up in 30 minutes or less.

I’ve been wanting to make one of these for a while, and I must confess that now that I have made one…well my entire summer wardrobe might consist of these. This little dress is so easy to make, and a great way to revitalize a sad, forgotten tank top. Here’s what you’ll need to make your own.
Tank top
- 1-2 yards of fabric (depending on the size you make)
- sewing machine/thread/scissors/yardstick
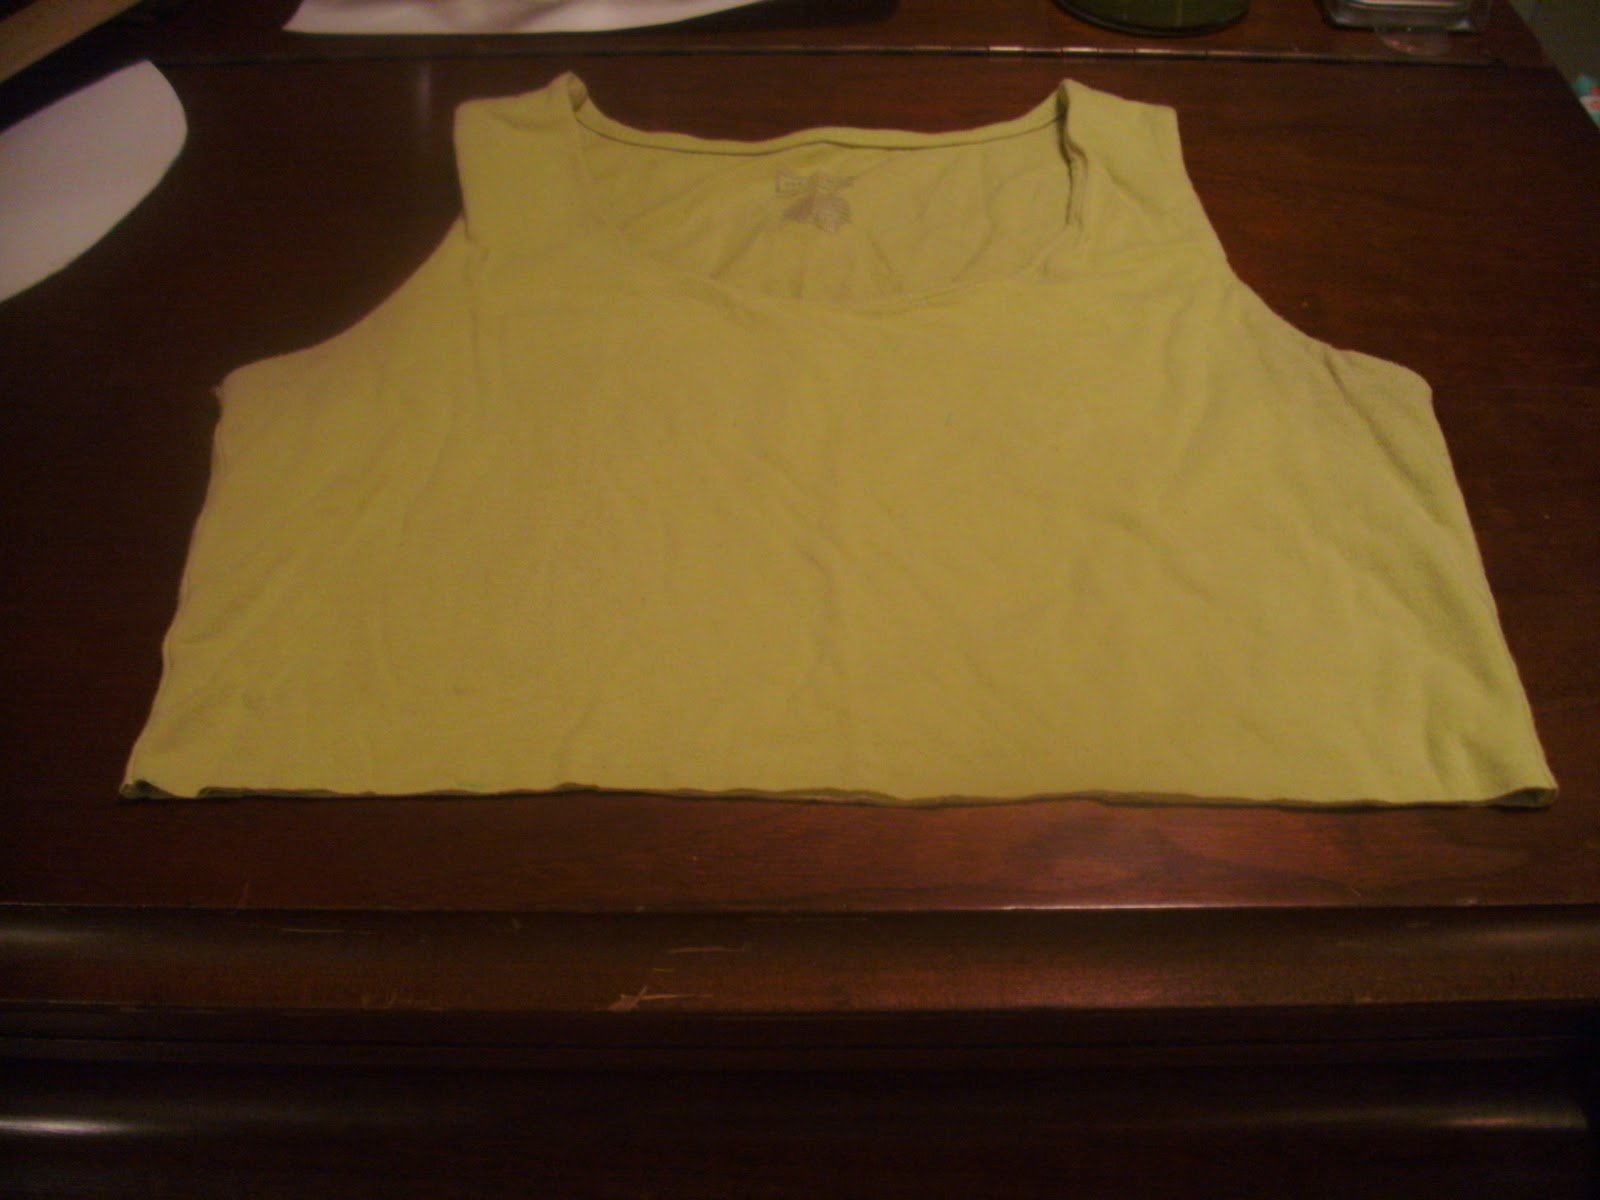
Step 1: Cut off the tank top. Try the tank on, and make a mark just below your bustline. You could also make it at your natural waistline for a different look. Take the tank off and measure to your mark from the shoulder seam. Add an inch, then draw a horizontal line across the tank. Cut along the line.
Step 2: Measure the width of the tank top, where you just cut it. Mine was 14″ across. Double that number (28″) then add half (14″) + 1″ = 43″. This is the width you cut your fabric at. Just cut it at a long length to begin with, because you will hem it when you try it on. (I cut mine at 43″ x 30″).
Step 3: Set your sewing machine stitch to baste (most machine’s that is a length of 5). Sew along the 43″ inch edge of the fabric. Pull the strings carefully to gather it down to the width of your tank plus 1″.
(mine was 28″ + 1″ = 29″)
Step 4: Sew the gathered edge onto the cut edge of the tank top, right sides together (don’t forget to switch your stitch back to the regular length). If you have a knit stitch (usually looks like a lightening bolt) it would probably help to use it. I forgot to use it on mine, so you can do it without it. When you’ve sewn all the way around, begin to sew down the side seam of the open side of the fabric.
Step 5: Press the seams well, then try the dress on. Fold the hem under where you want it and pin it. Take off the dress. I cut about 5″ off the bottom – you may or may not need to do this depending on the length you would like the dress to be.
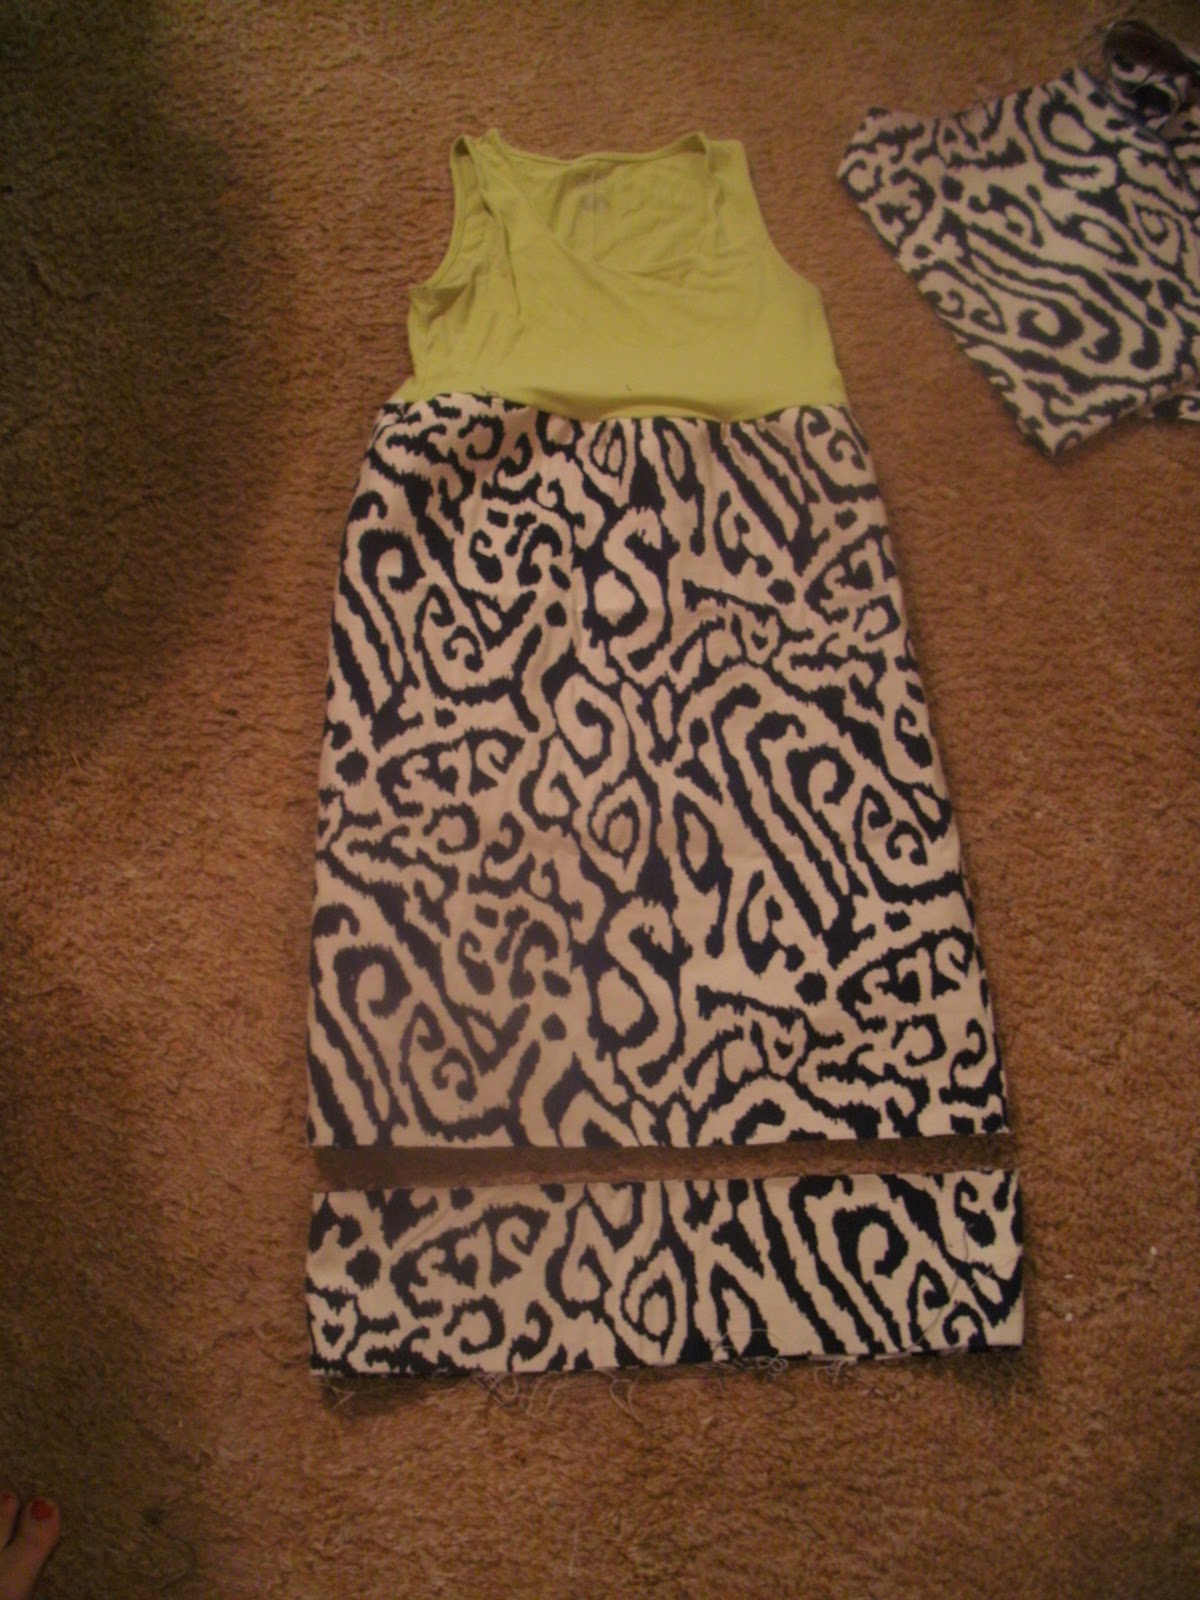
Then press the bottom edge of the dress toward the wrong side about 1/2″ inch. Fold it over another 1/2″ and press again.
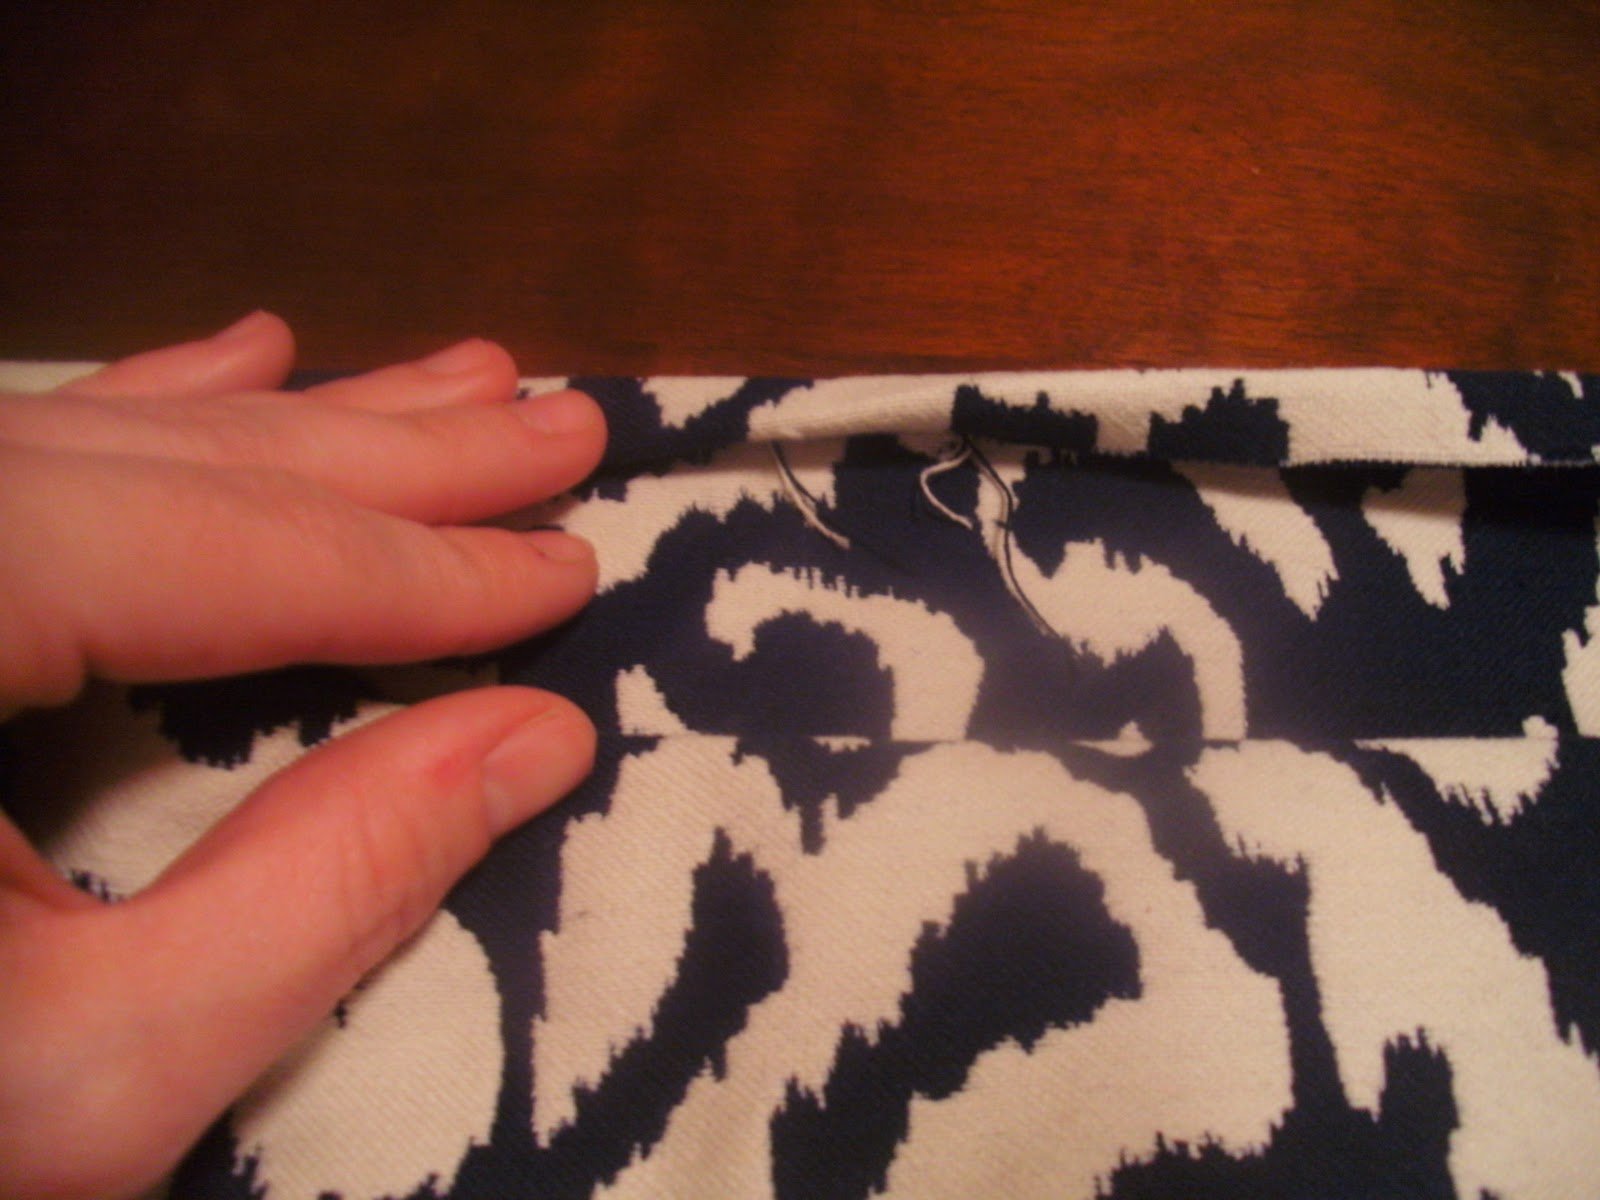
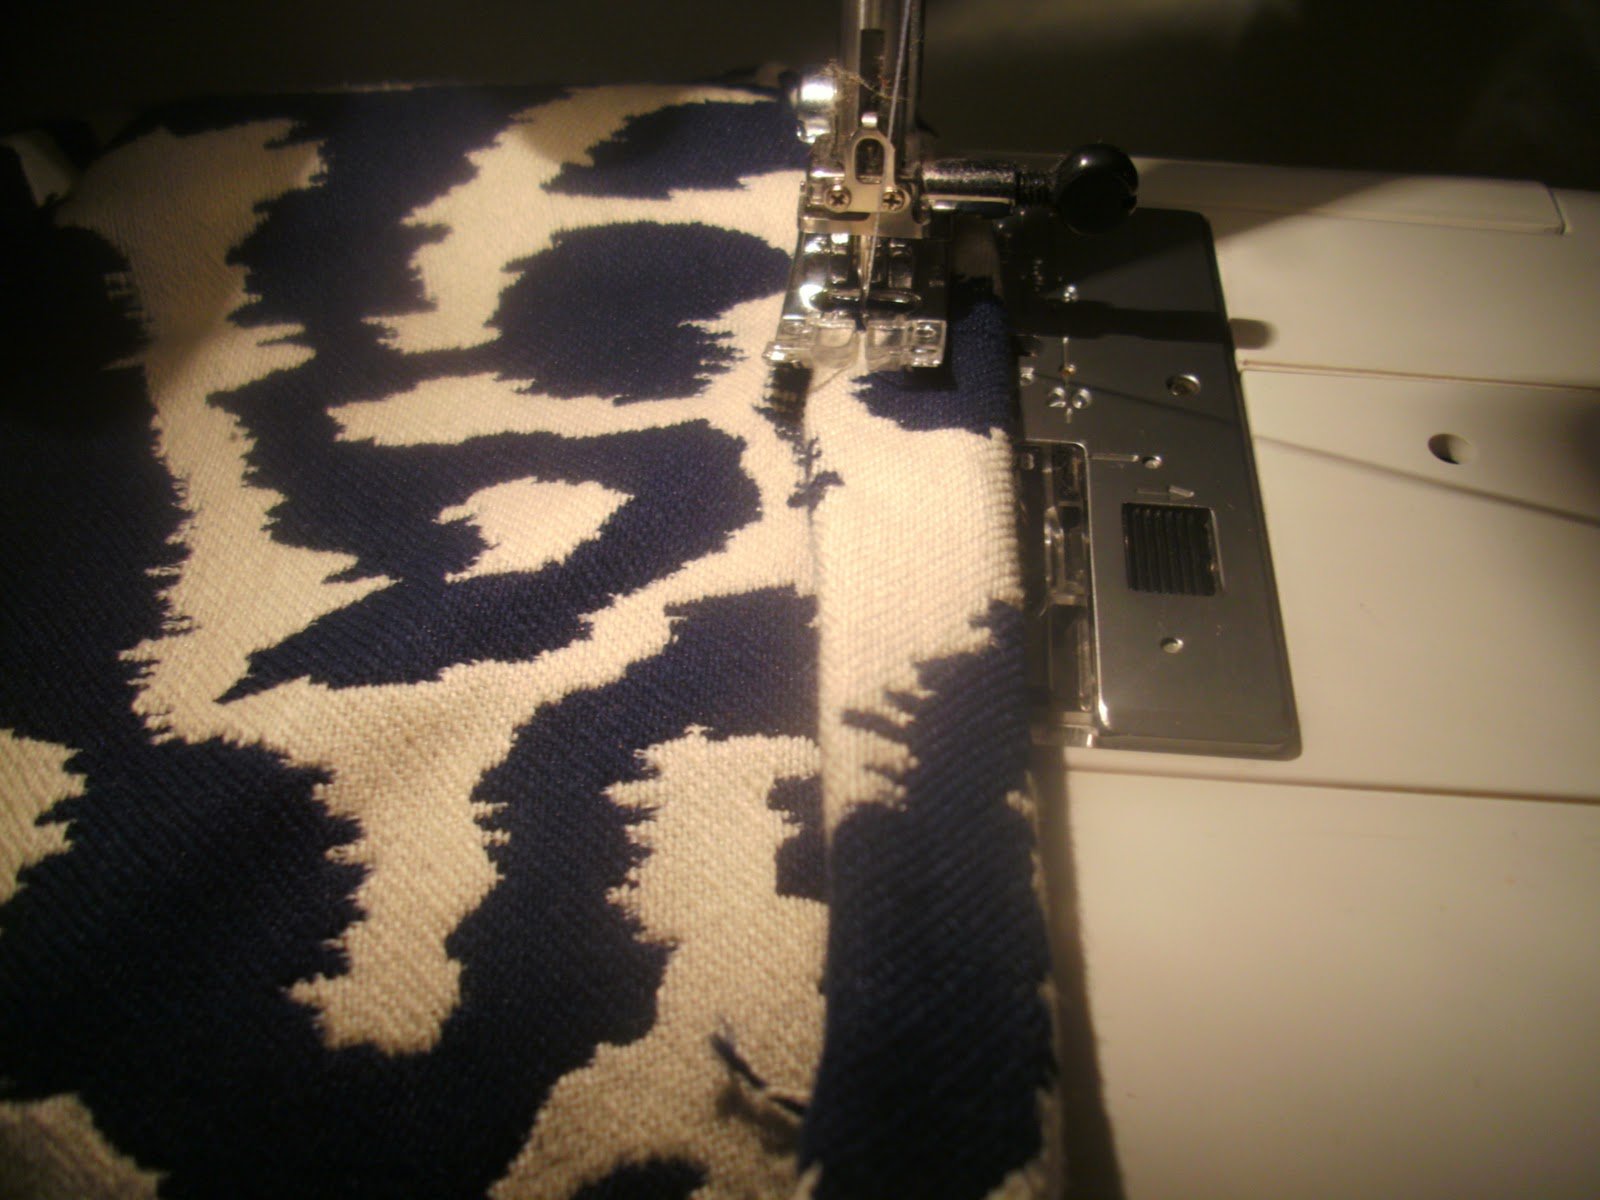
Stitch the hem – have the wrong side facing you so that you can see the folded edge of the hem.
And that’s it! Throw on a belt to cinch the waist a little and head out looking effortlessly put together.

happy sewing
jessica


