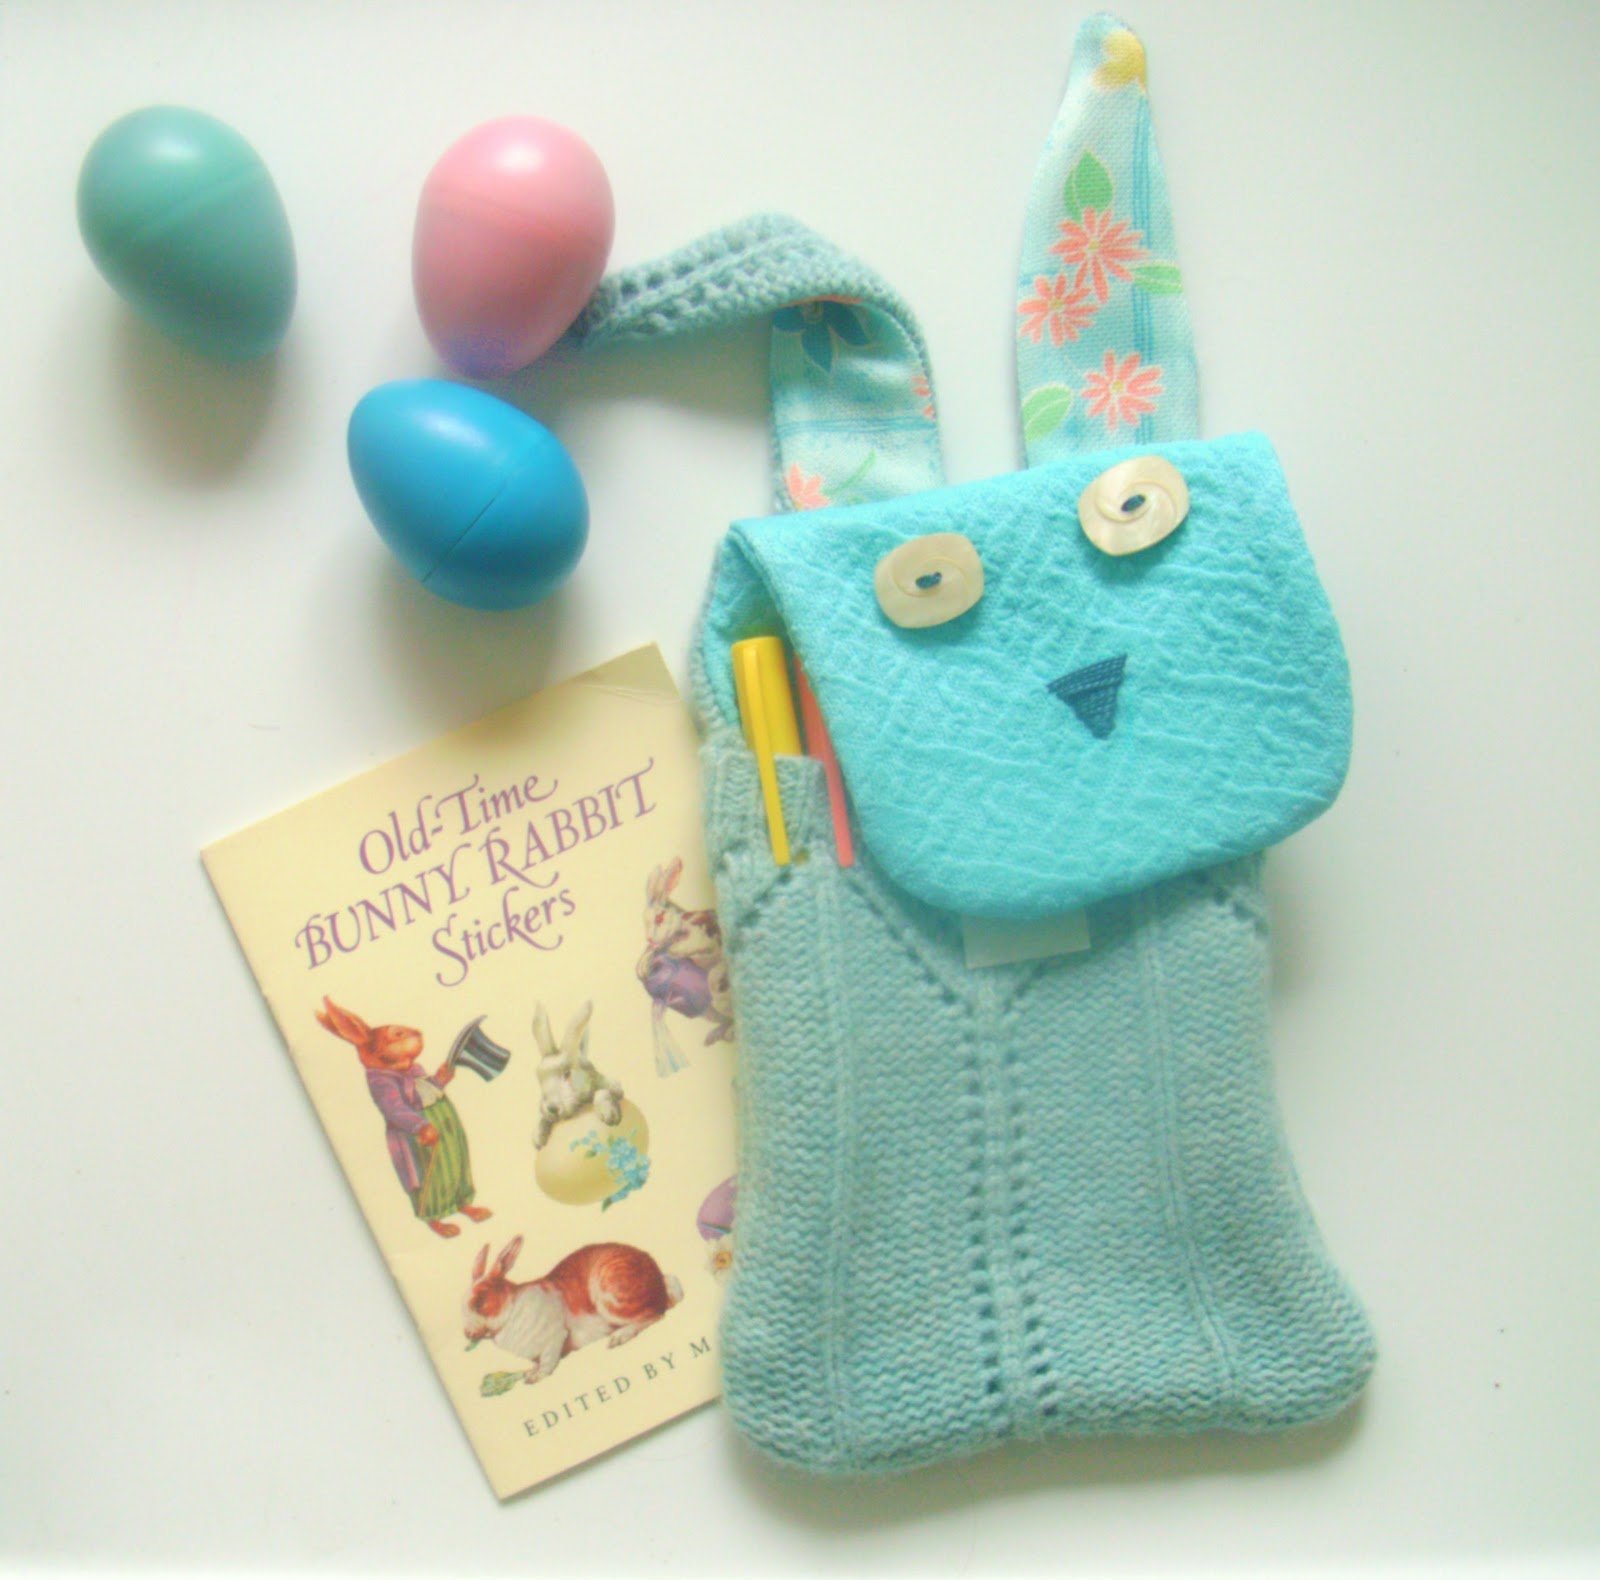
I knew as soon as I saw these sweet little bunnies on West Elm and Amazon, that I had to make one for Charlotte.
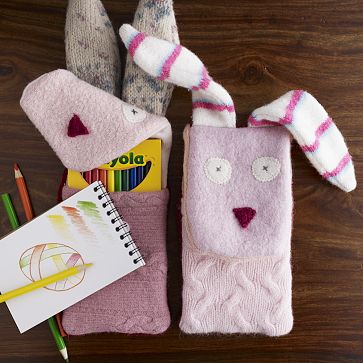
We are always toting around markers, pencils, crayons, etc – this makes a perfect gift. Any little girl or boy would love to find one of these in their Easter Basket.
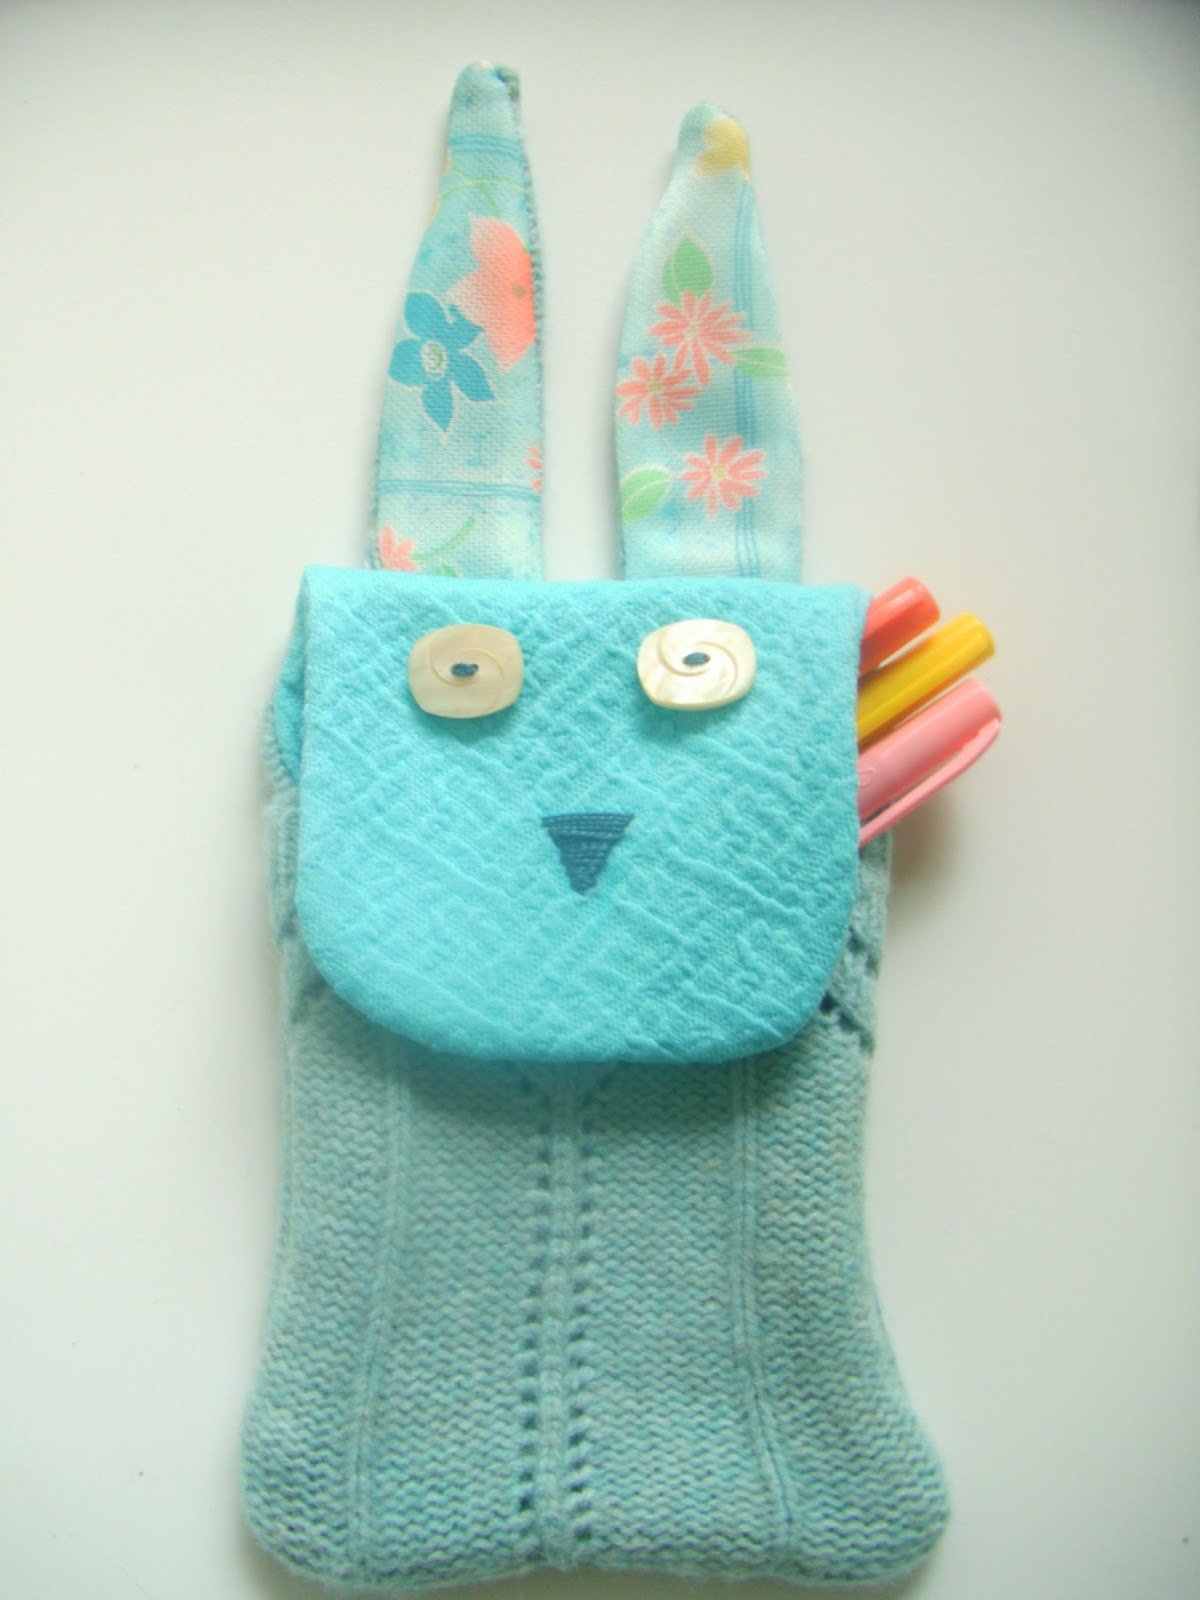
You could fill it with stickers, crayons, notepad, markers, pencils, whatever! It’s pretty simple to make and should take you about an hour.
Here’s what you will need:
- 2 buttons
- embroidery floss
- an old sweater (I used one that had been shrunk in the wash)
- some lining fabric
- printed fabric for the inside of the ears
- small piece of velcro (one rough, one soft)
- a pom pom for the tail
- sewing machine/thread
- scissors
- yard stick
- needle/thread
Step 1: Cutting the pieces.

Out of the sweater – cut one rectangle 6″ long x 5 1/5″ wide for the front
– one rectangle 8″ long x 6 1/2″ wide for the back
Out of the lining fabric cut one rectangle 14″ long x 6 1/2′ wide and
-one square 5″ x 5″ for the face
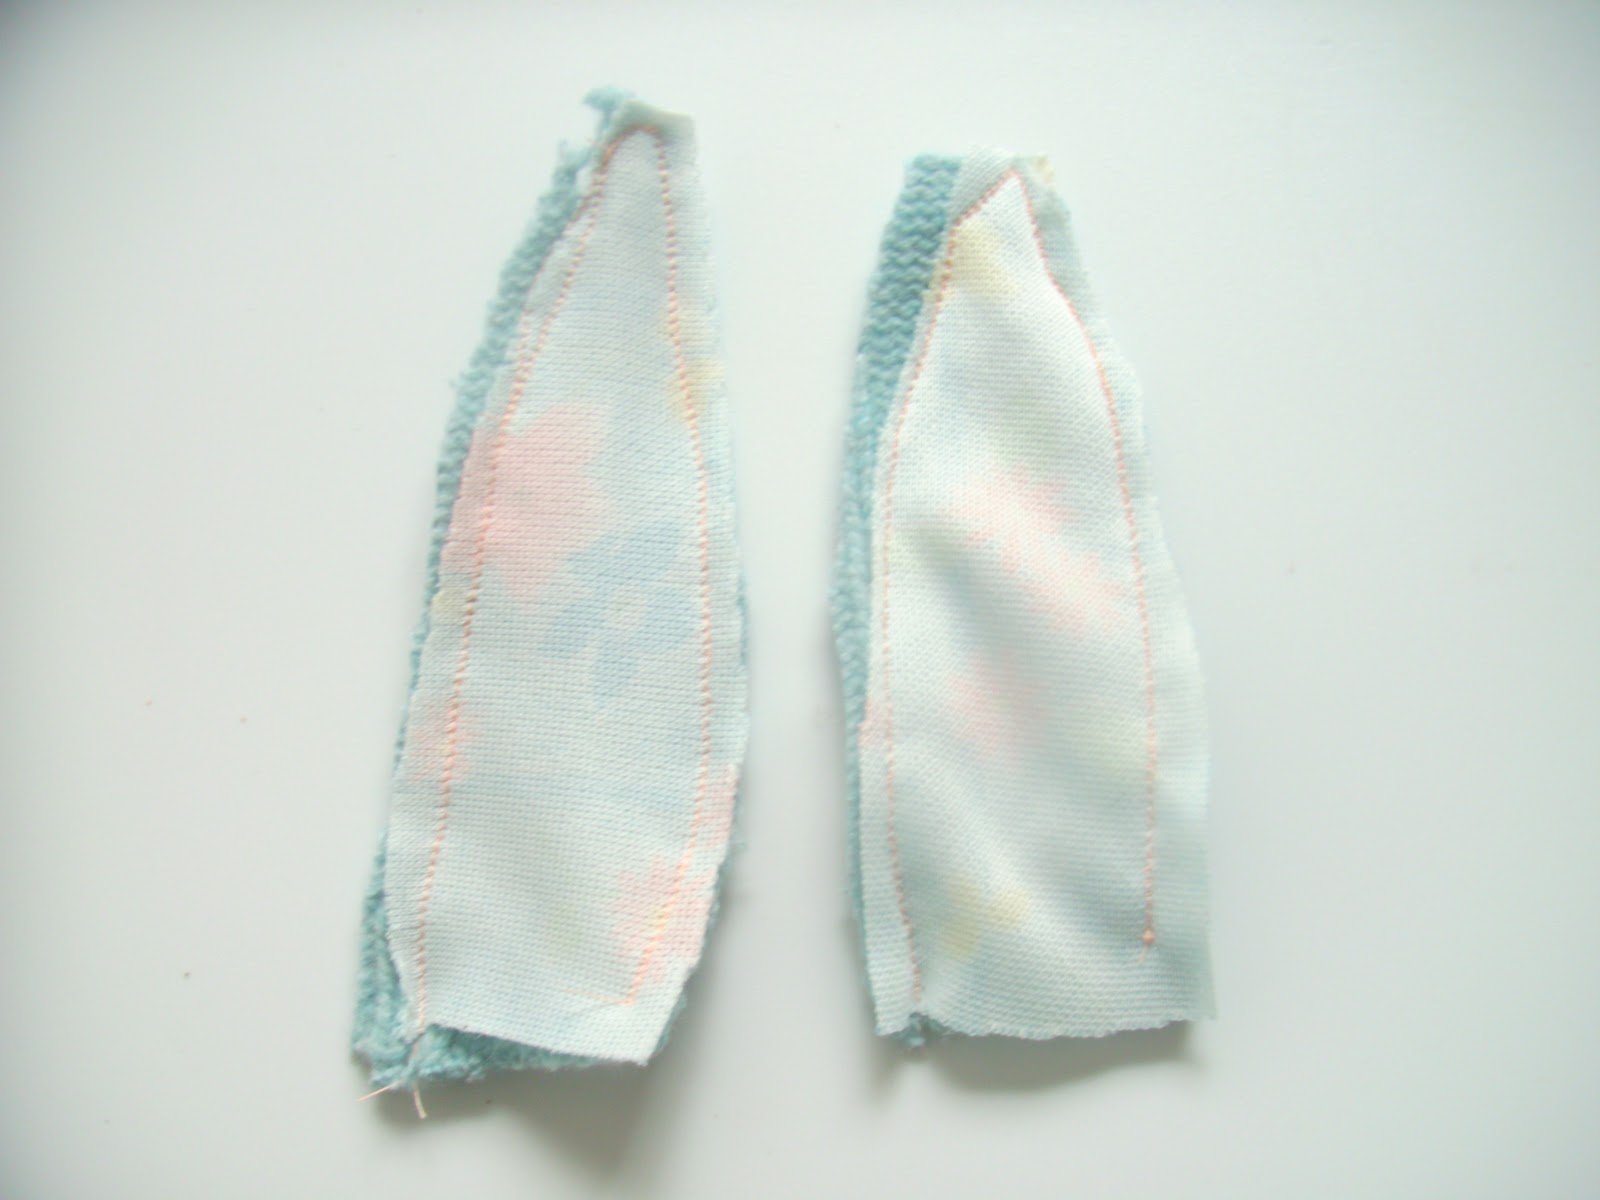
-cut four ears: two out of sweater material, and two out of a print
about 6″ long x 1 3/4″ wide at the base. Taper them to look like ears.
Step 2: Sew the ears right sides together. Clip the top point flat and turn right sides out.
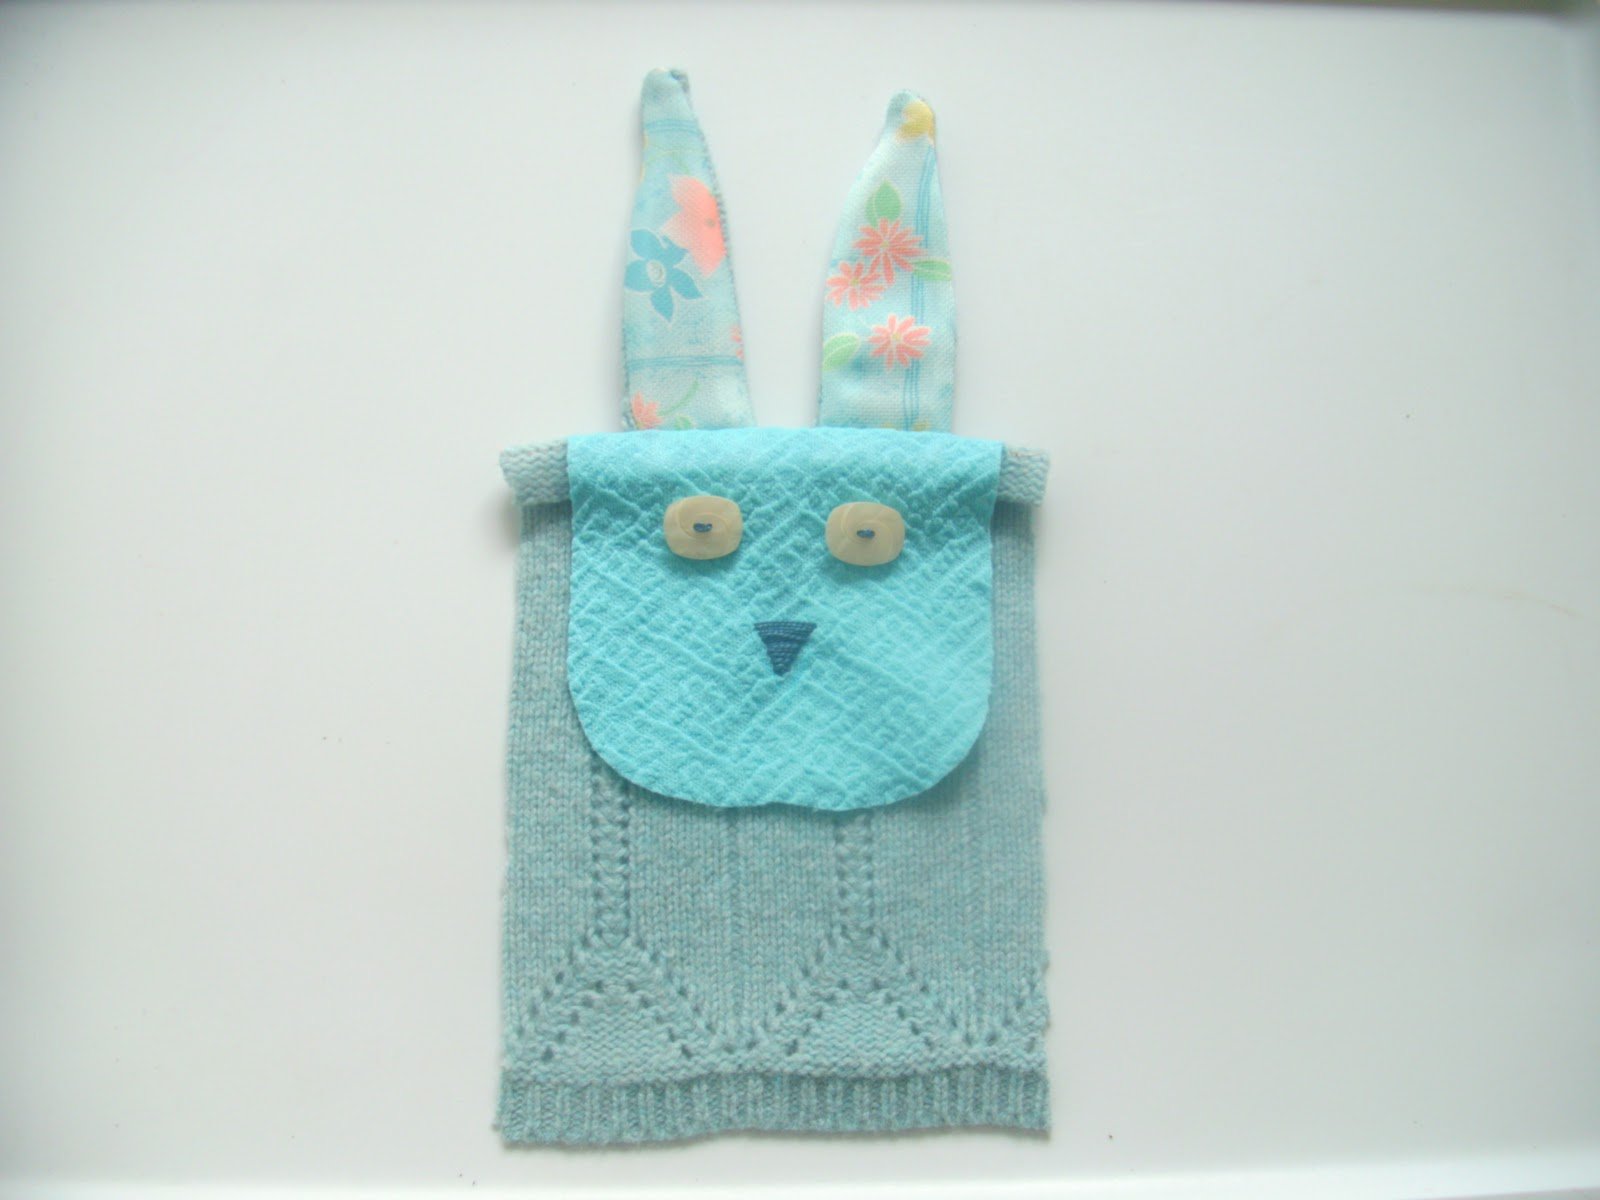
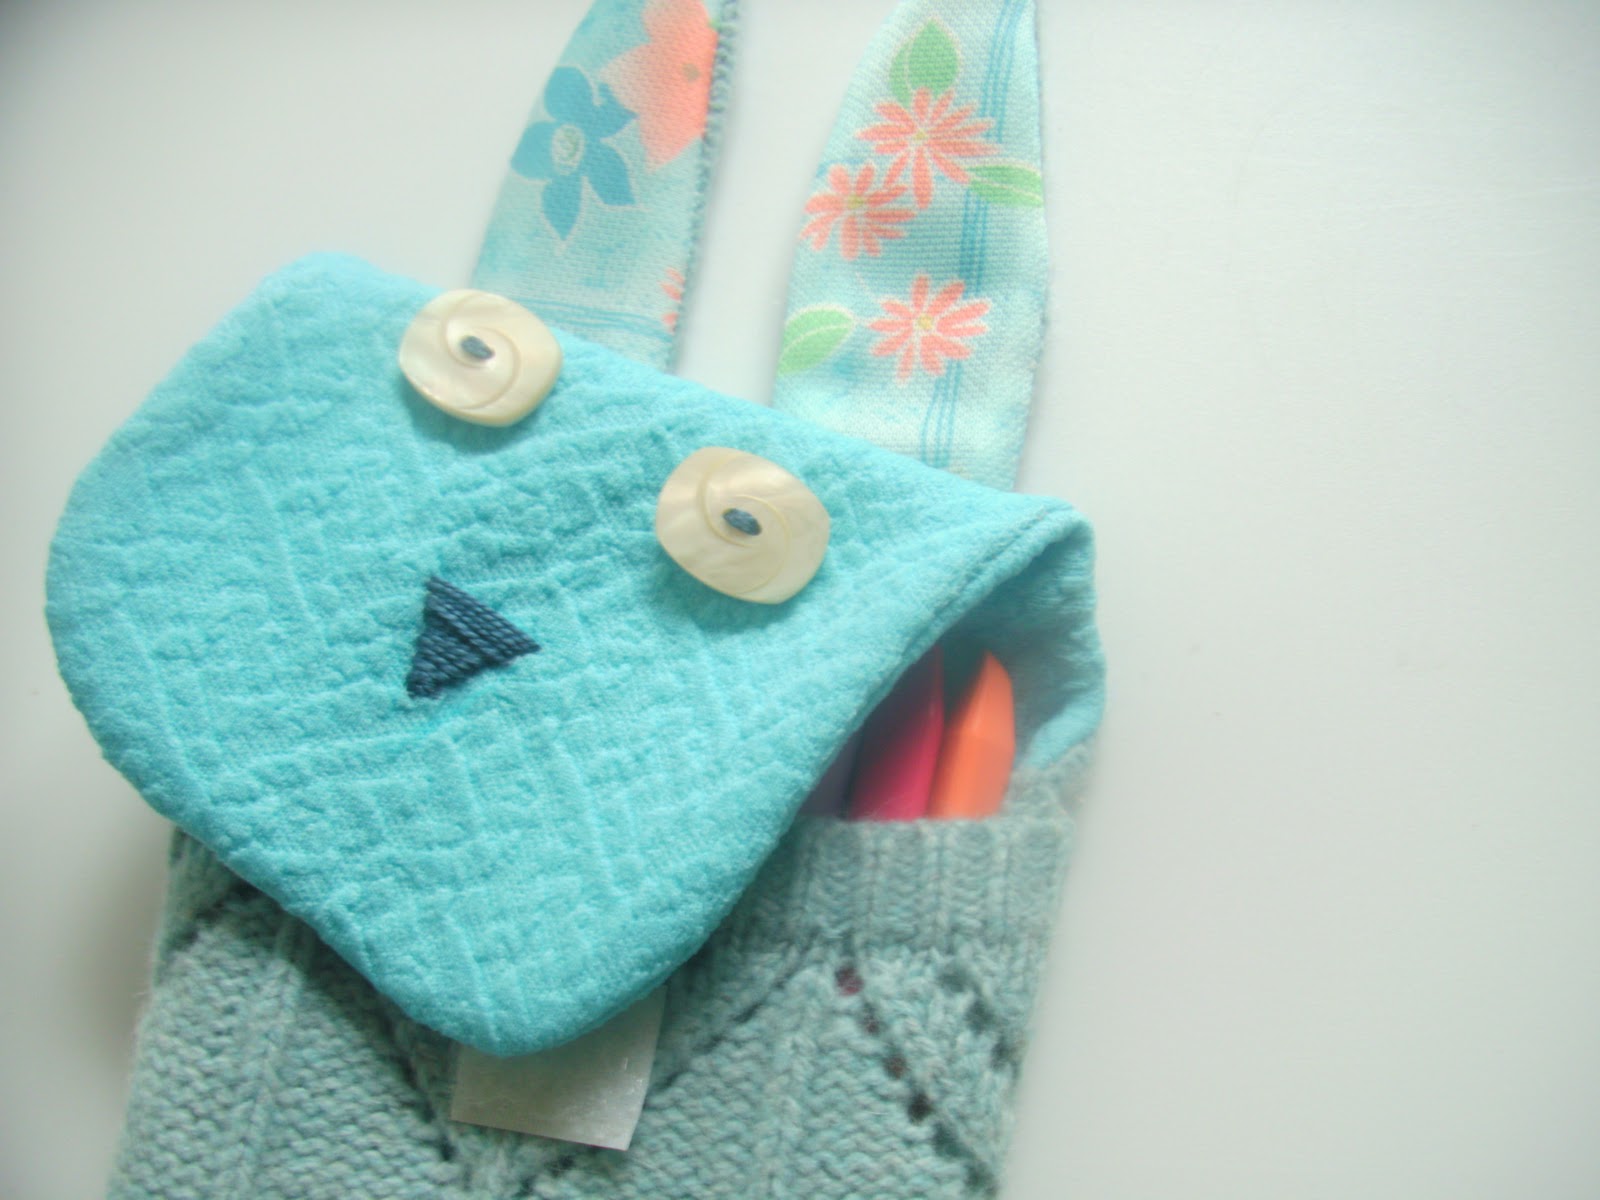
Now is the time to make the bunny face. Sew two buttons on for eyes, and sew a little triangle for the nose. I just drew a triangle with a water soluble pen and filled it in with stitches going back and forth.
Step 3: Now it is time to assemble the face, ears, and back. Lay the ears on the right side of the back, with the print facing up.
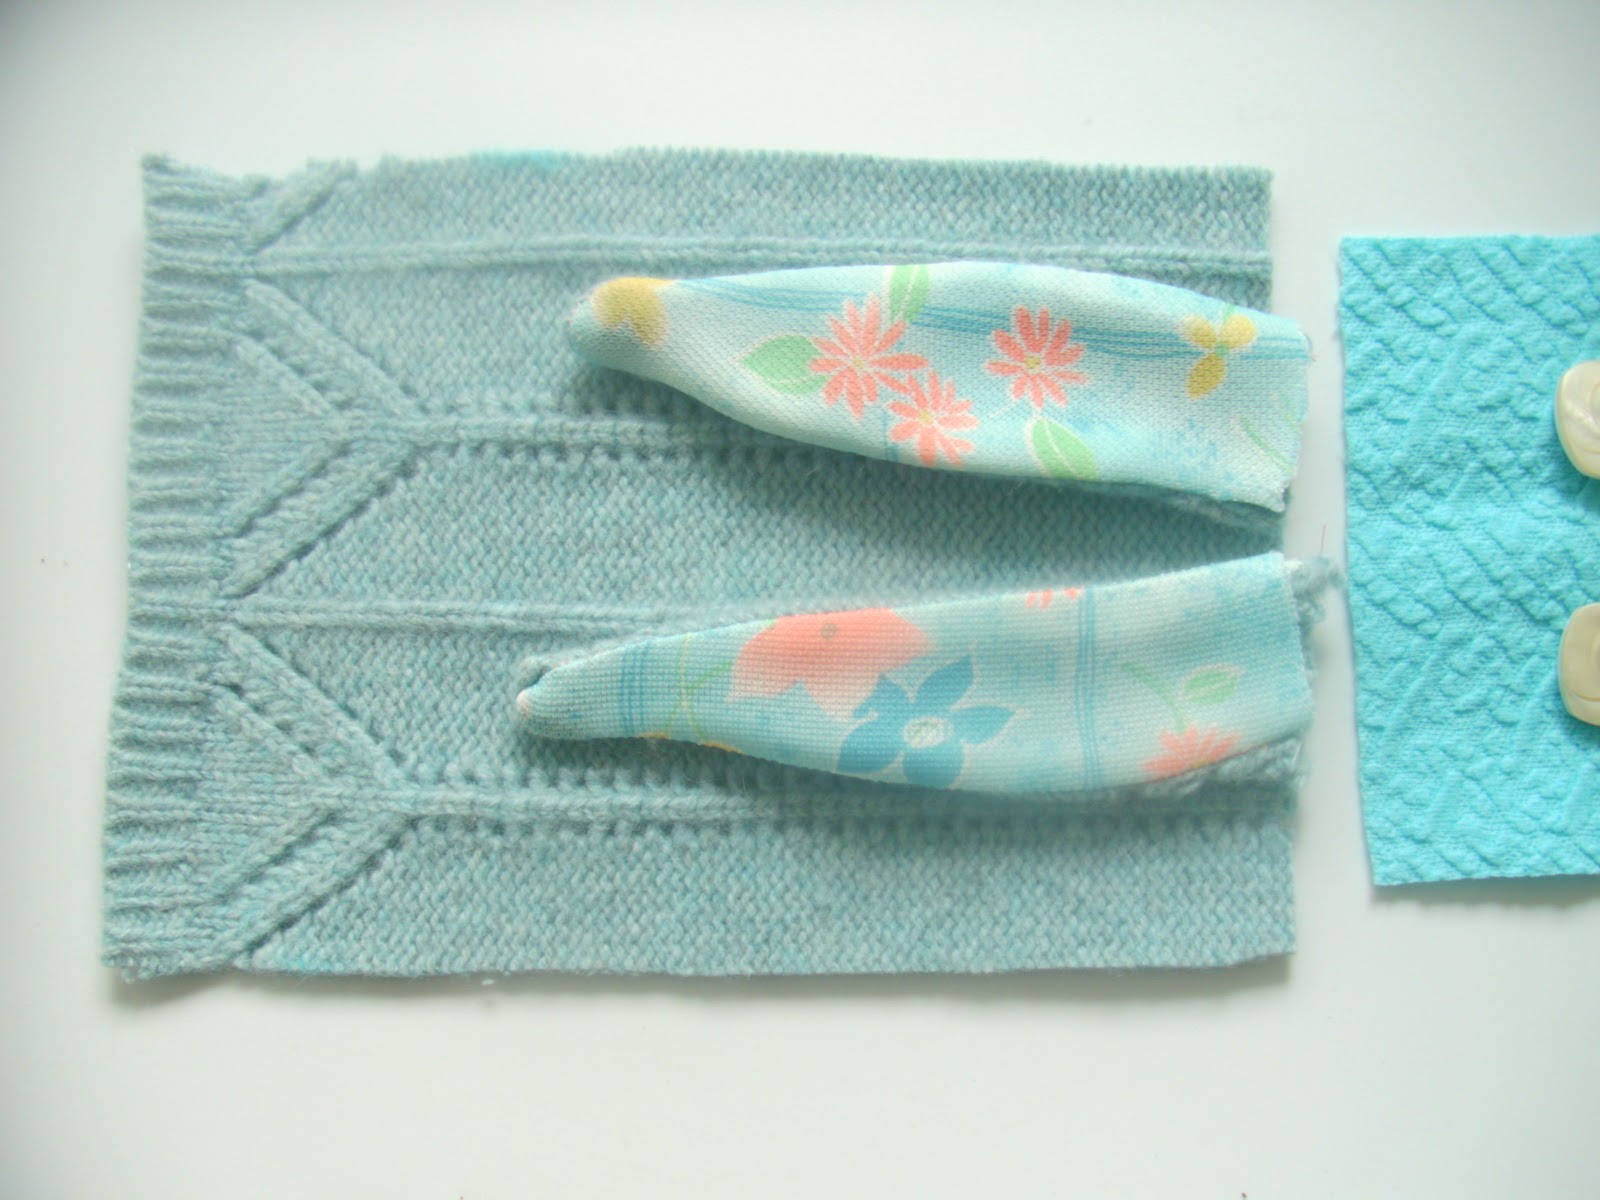
Lay the face right side down on top of the ears. Make sure all the edges are aligned, and then pin. Sew along the edge you pinned – using about a 3/8″ seam.
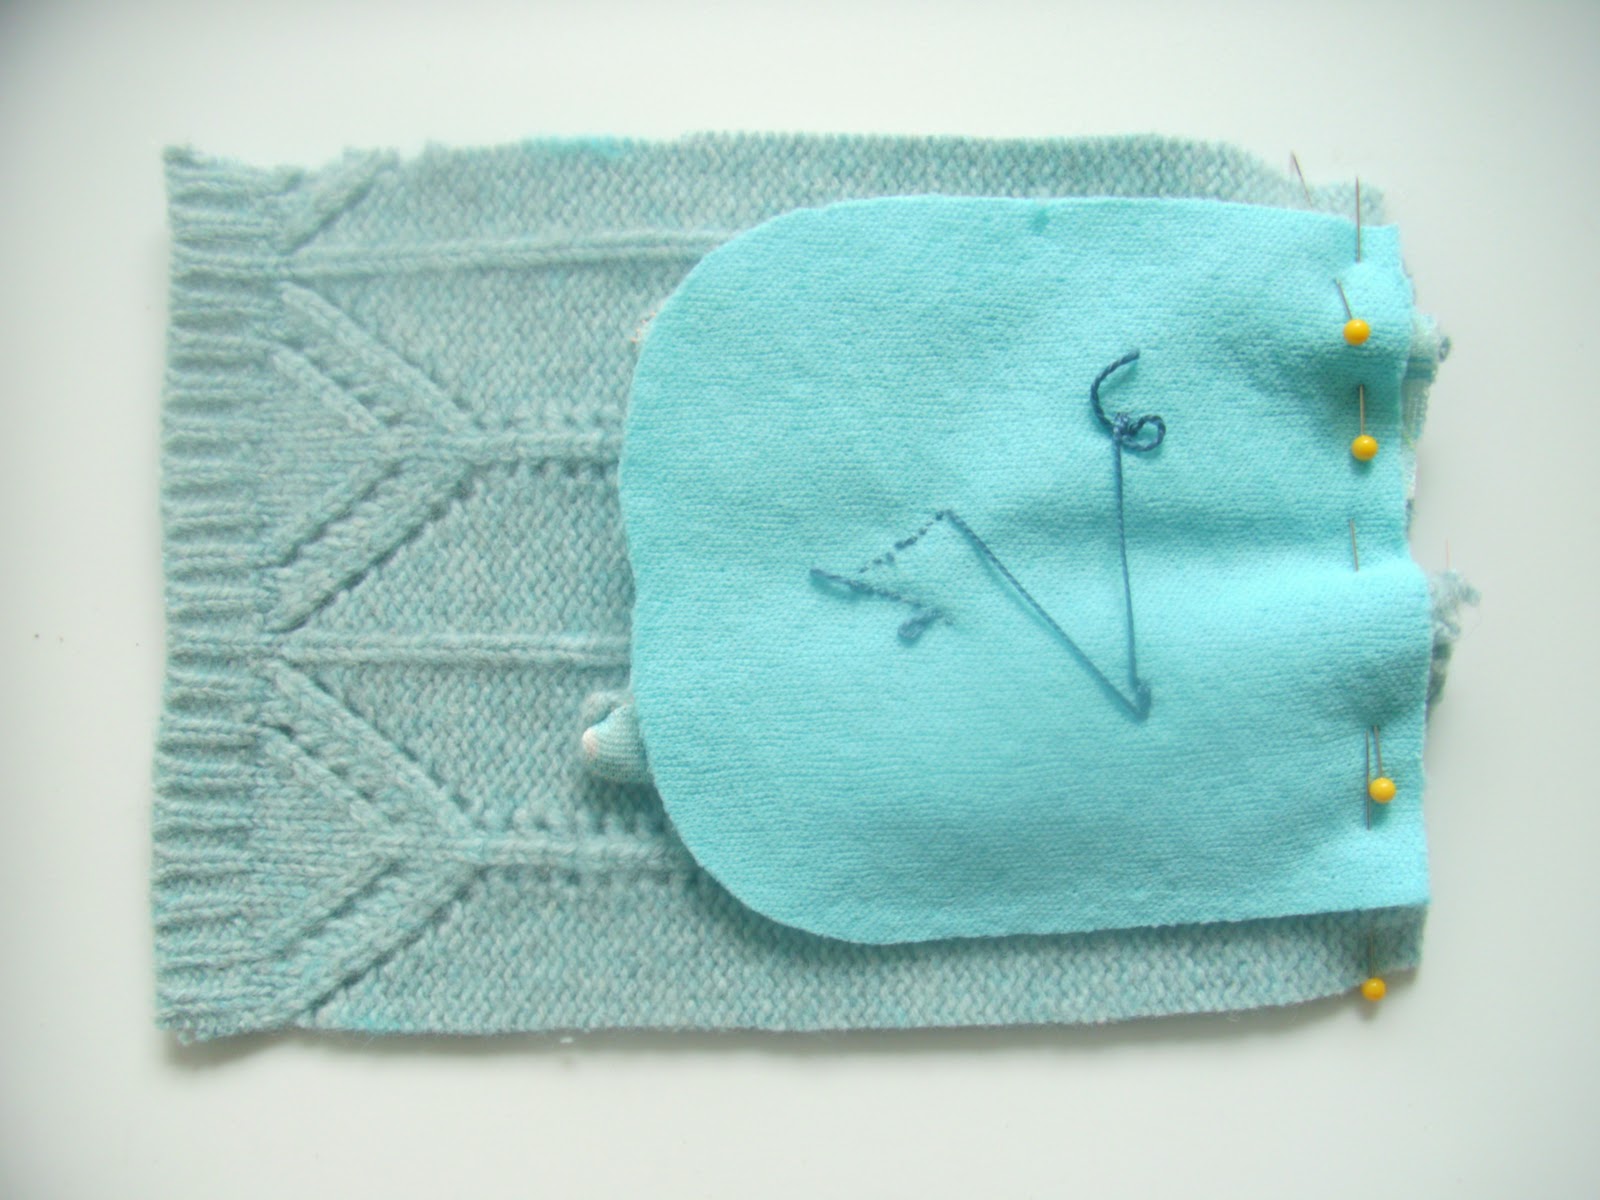
Step 4: Lay the bunny wrong side down on top of the lining rectangle.
Trim the lining to match the shape of your bunny.
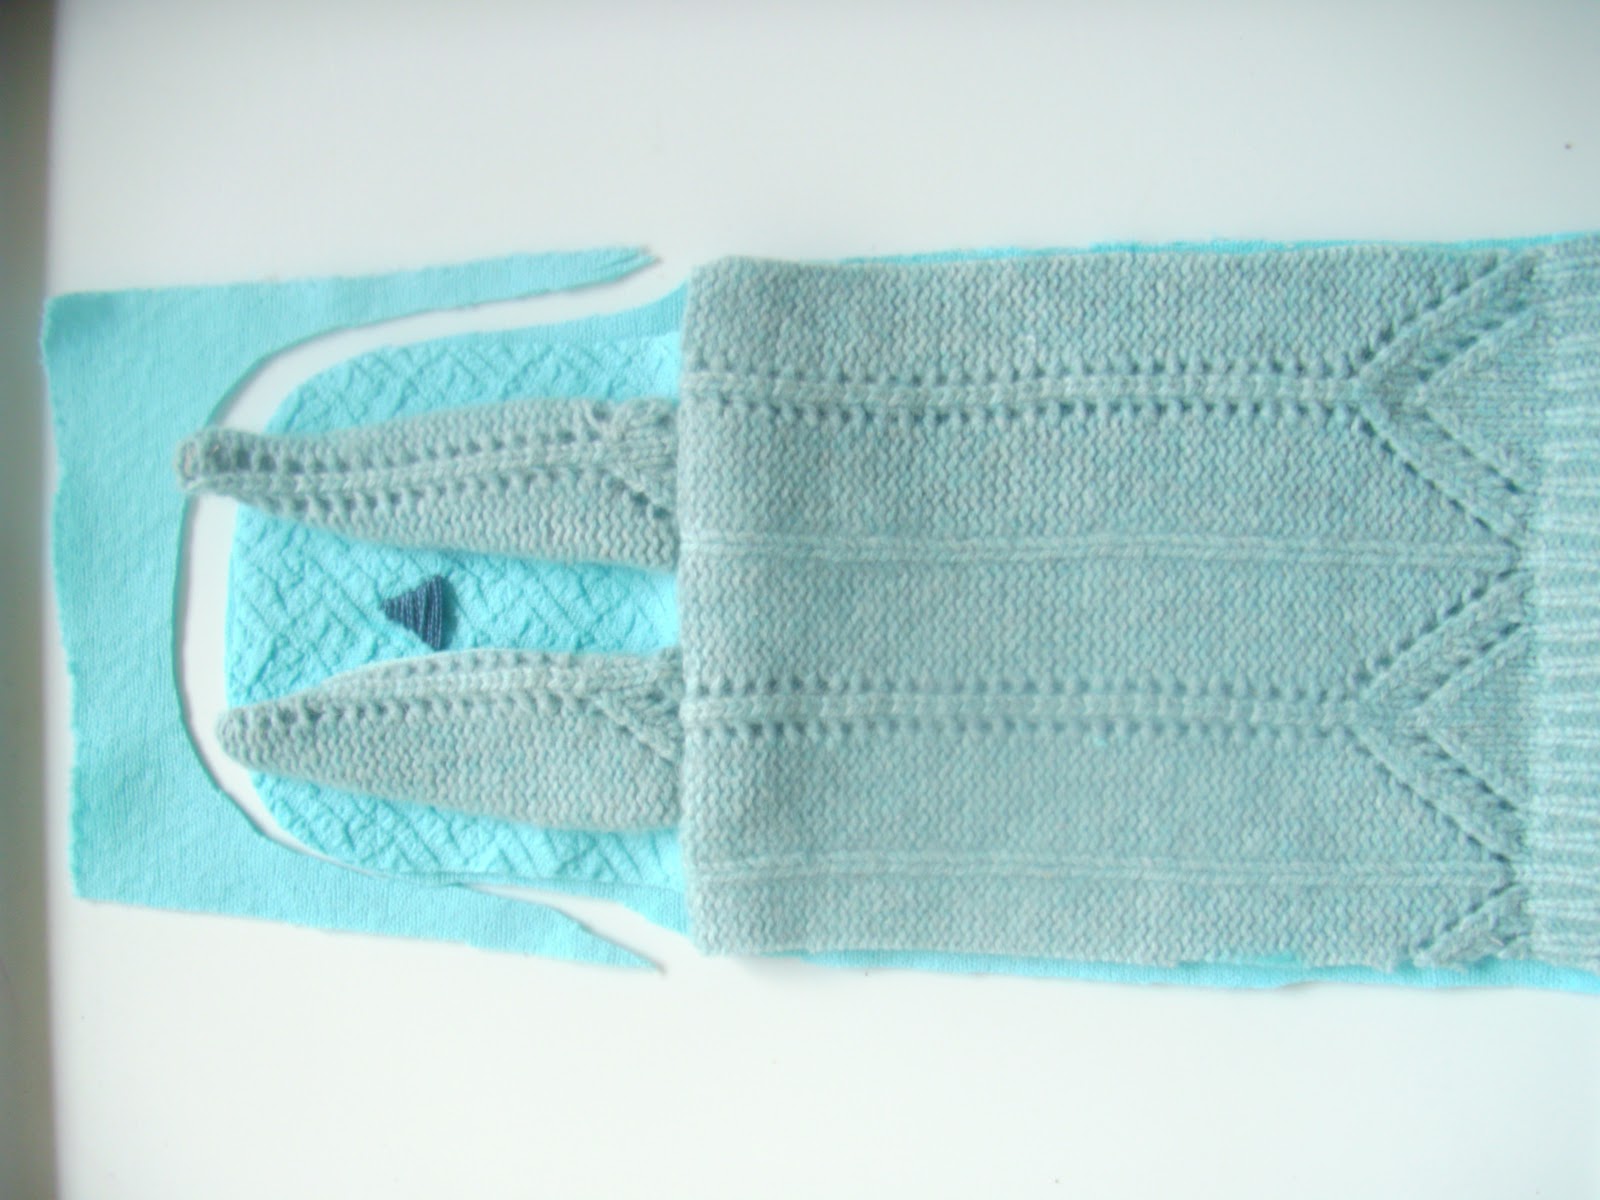
Now put them right sides together and pin around the edges. Be sure to tuck the ears in so they won’t get caught in the seam.
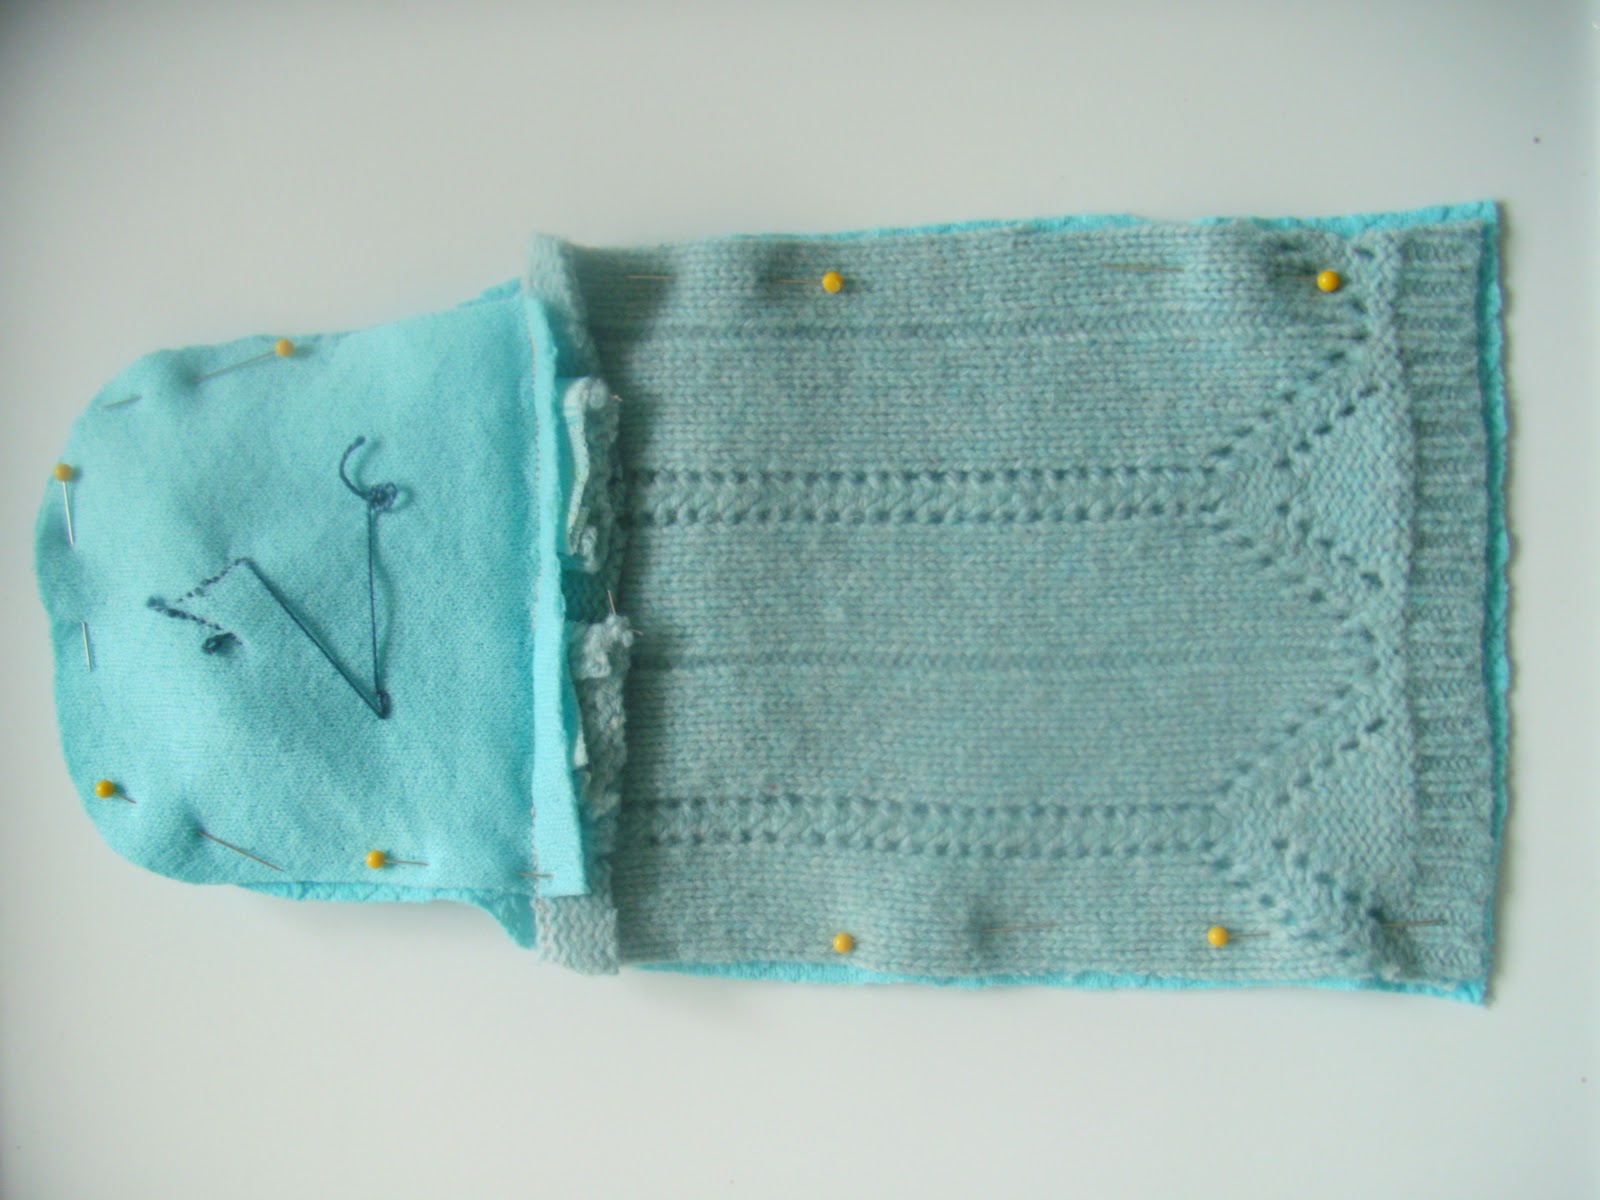
Sew around the edge, leaving an opening in the bottom. Press well and he should look like this:
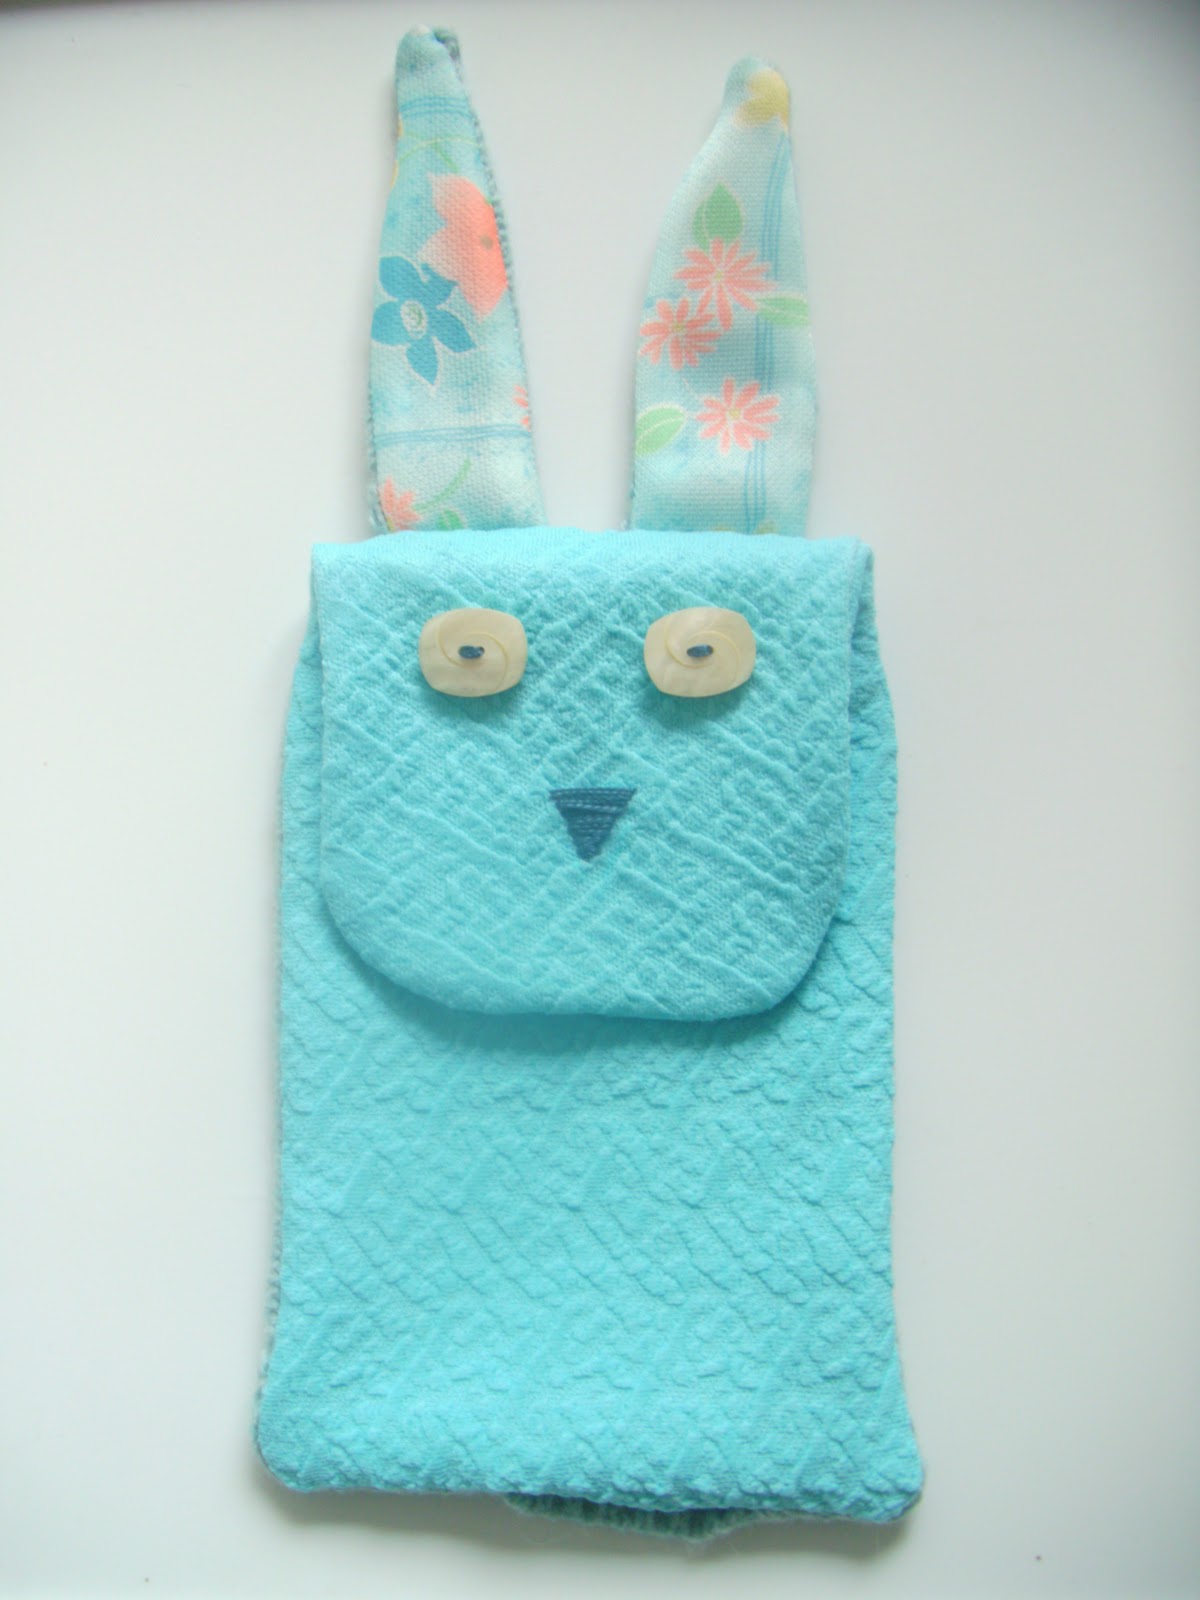
Don’t worry about closing that little opening – it will get caught in the next seam.
Step 5: Sew the front pouch, right sides together, to the back. Sew along the sides and bottom only.
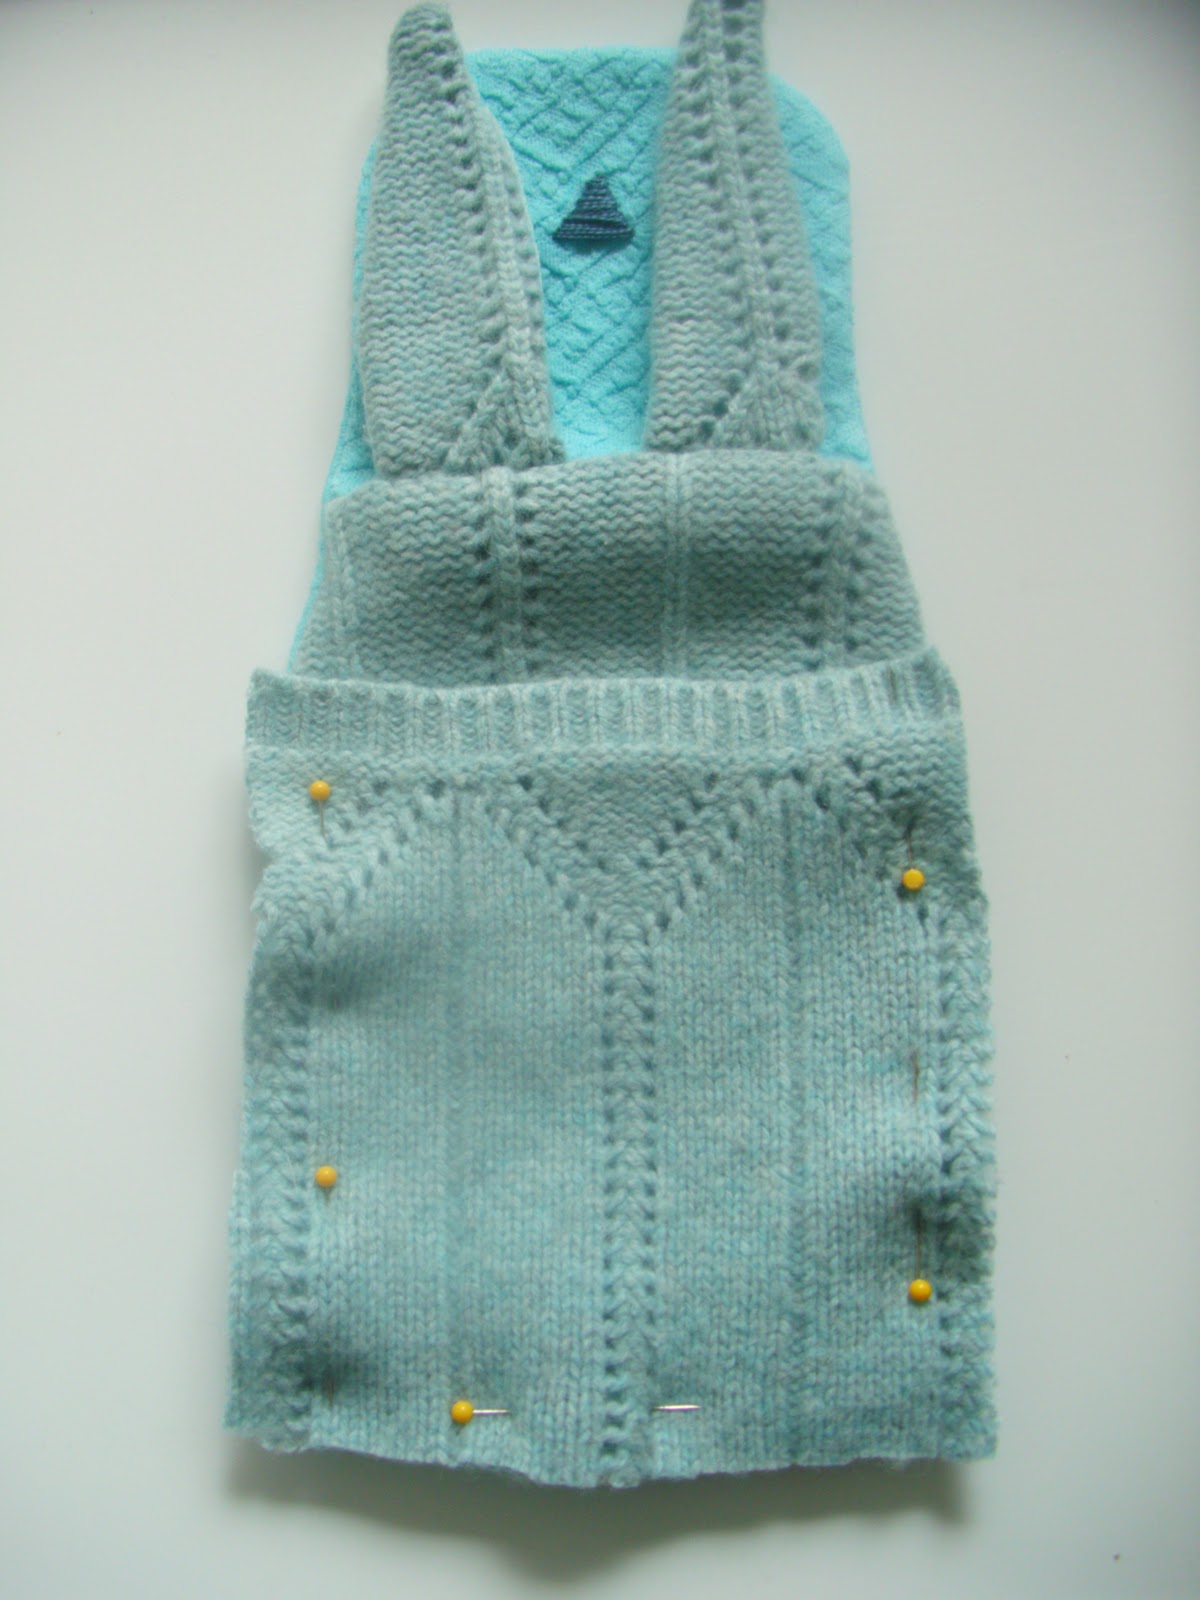
Clip the corners, and flip him. Press well.
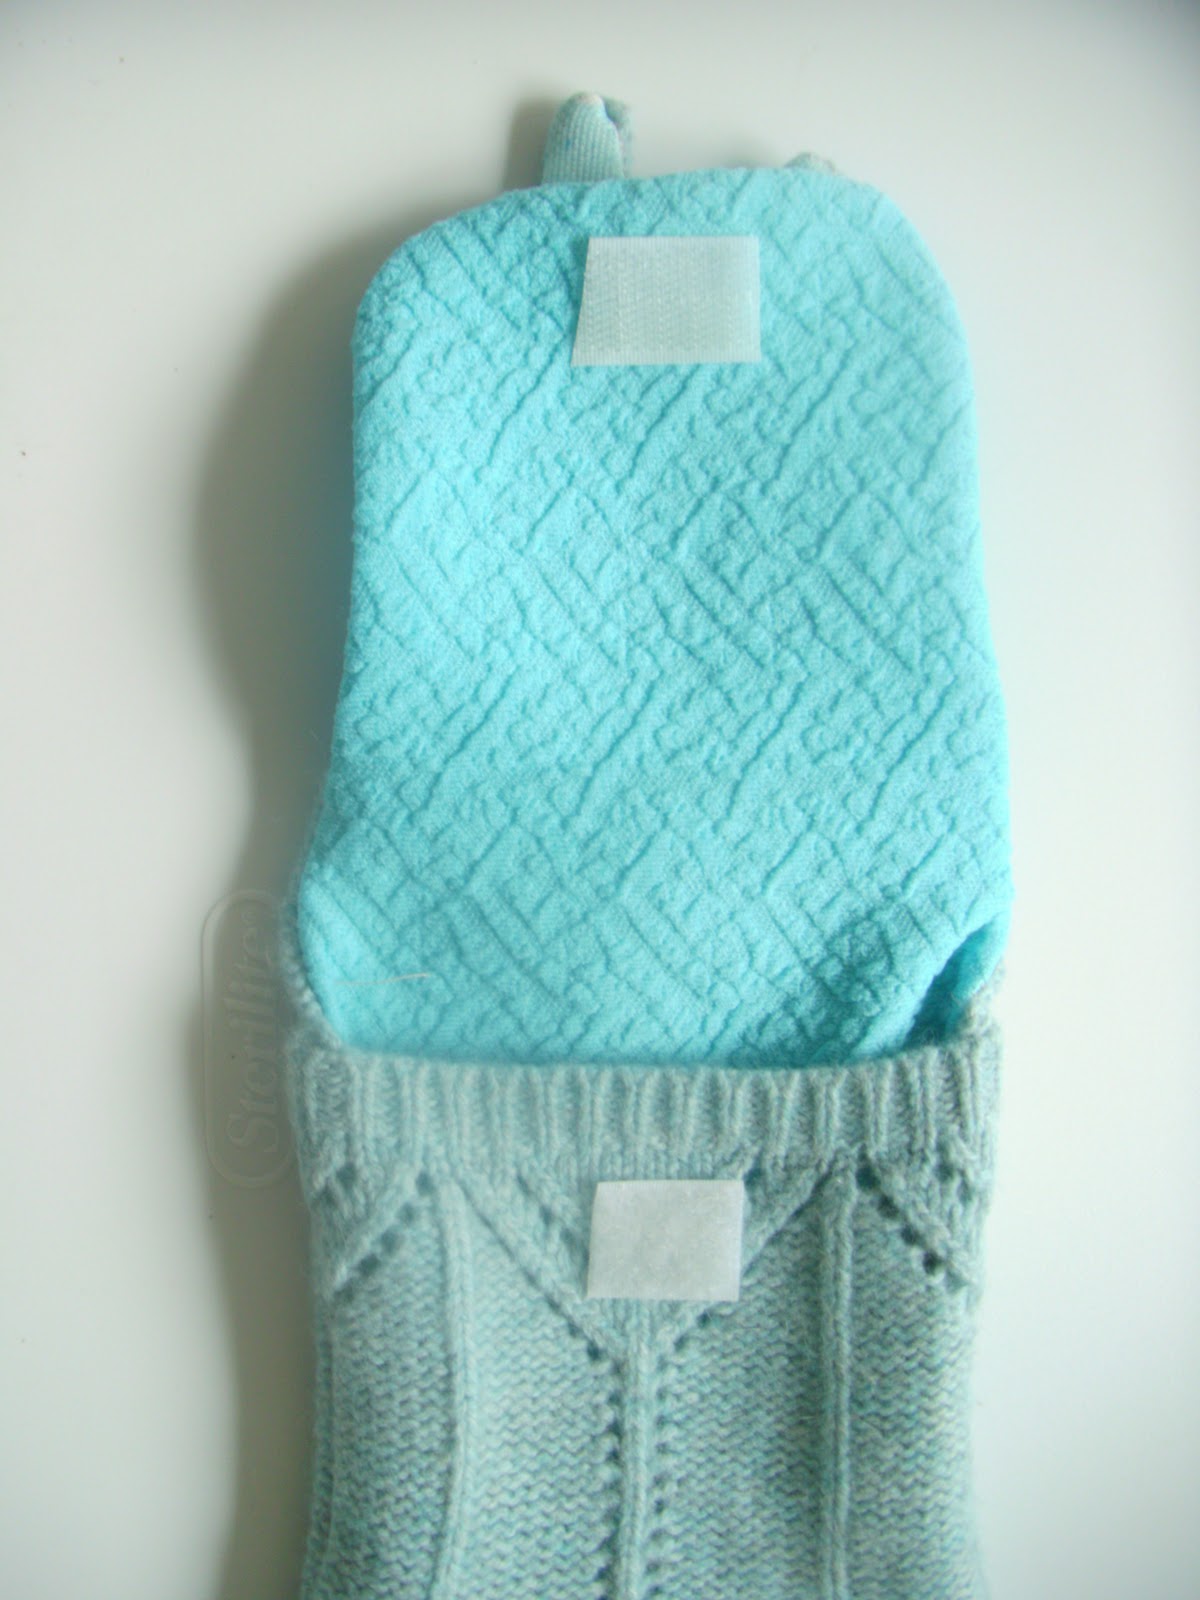
Step 6: Hand whip the velcro on – one piece on the pouch and one piece on the mouth.
Hand whip the pom pom on the back.
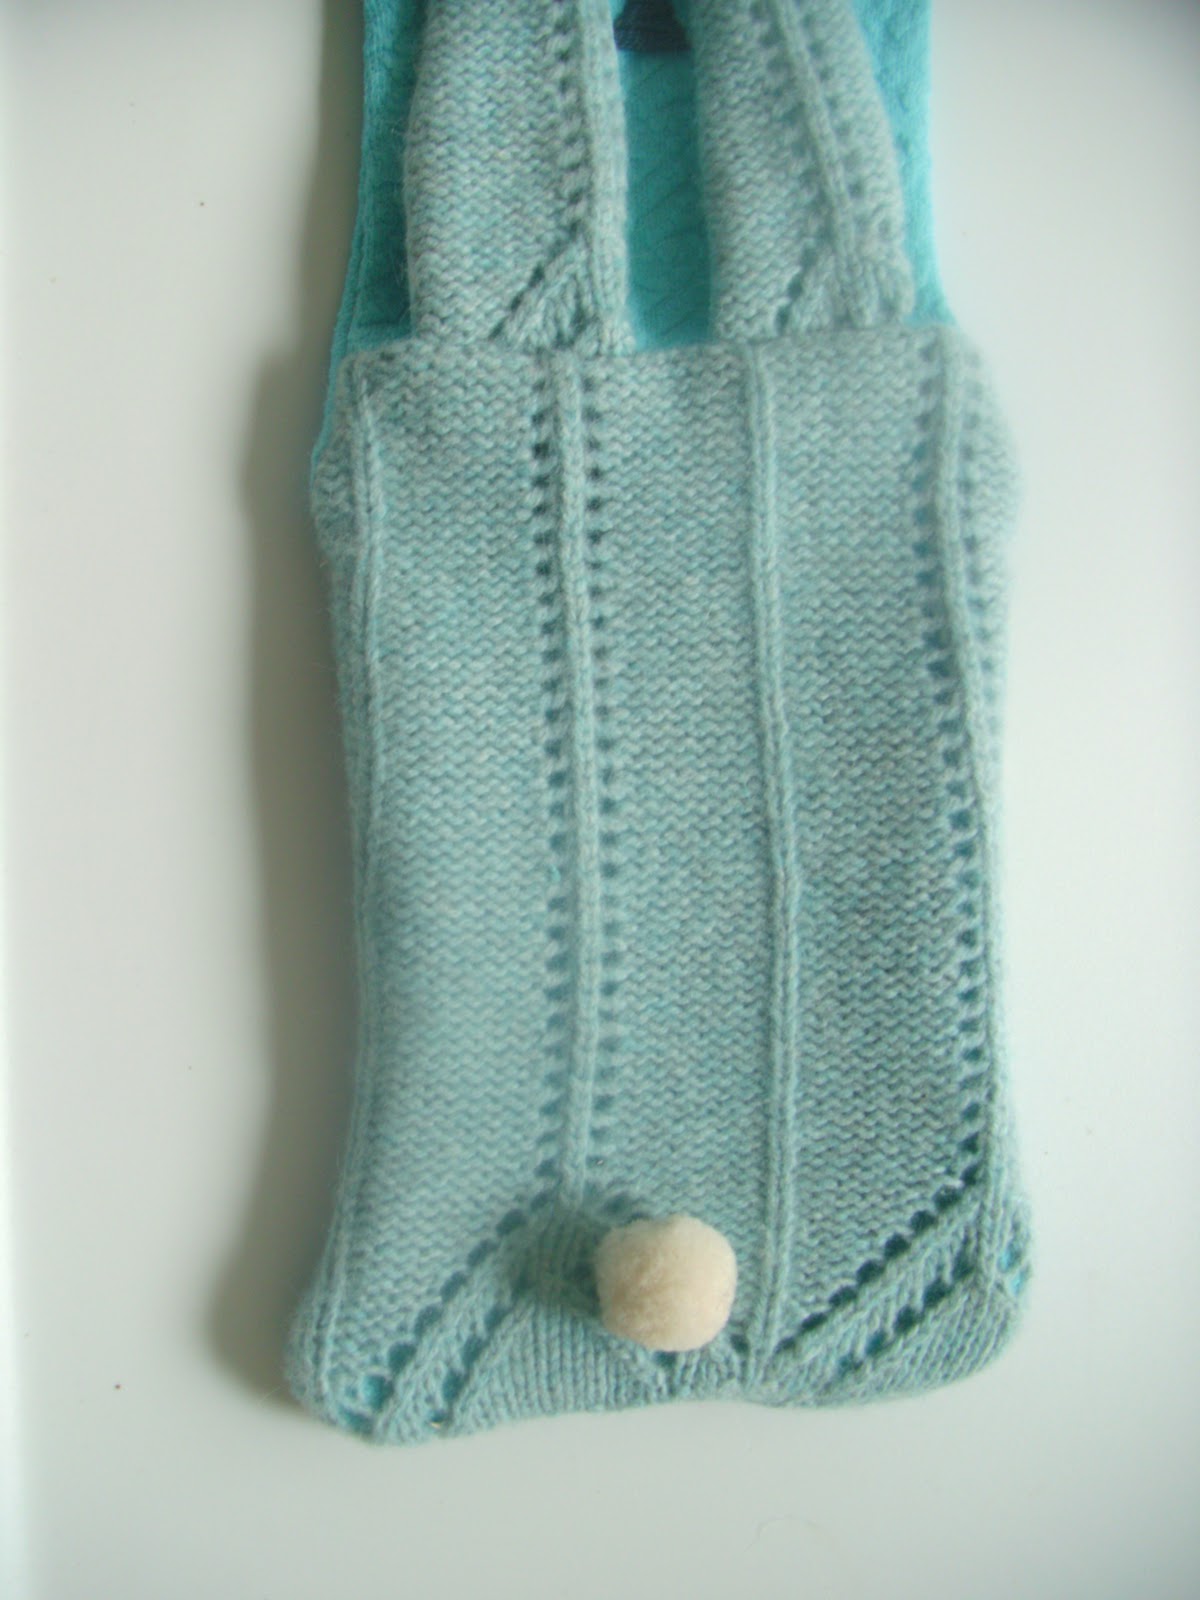
What a cute little bunny. Hoppy Monday!
xoxo,
jessica


