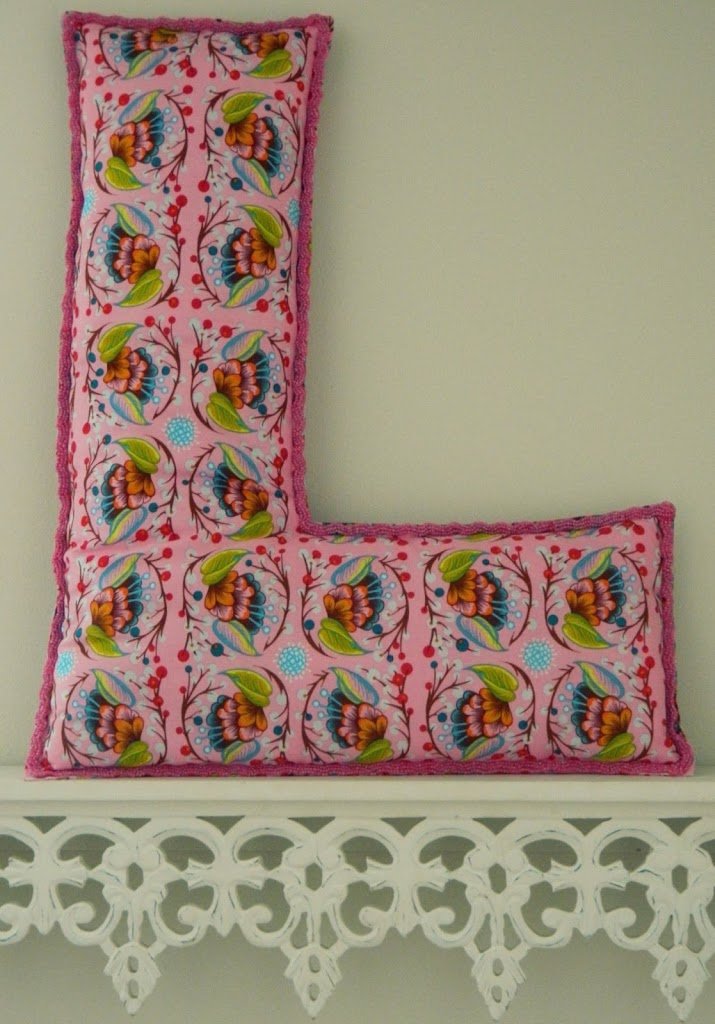
Today’s post is brought to you by…
the letter L!

I mentioned it in my last post – our baby girl’s name is going to be Lila. Lila Marian to be exact (Marian is my grandmothers name). Do you remember on the TV show Friends, when Rachel has her baby Emma, they have a large letter E hanging on the wall?

I’ve always loved that – so I decided to make my own! Thankfully the letter L wasn’t too tricky – if you have a name that begins with S or R…I’m not sure this is the project for you, but you could always give it a try!
This project was fairly simple – it took me about 2 hours, and I was stopping to take pictures. If you’re game to make your own, here’s the stuff you’ll need:
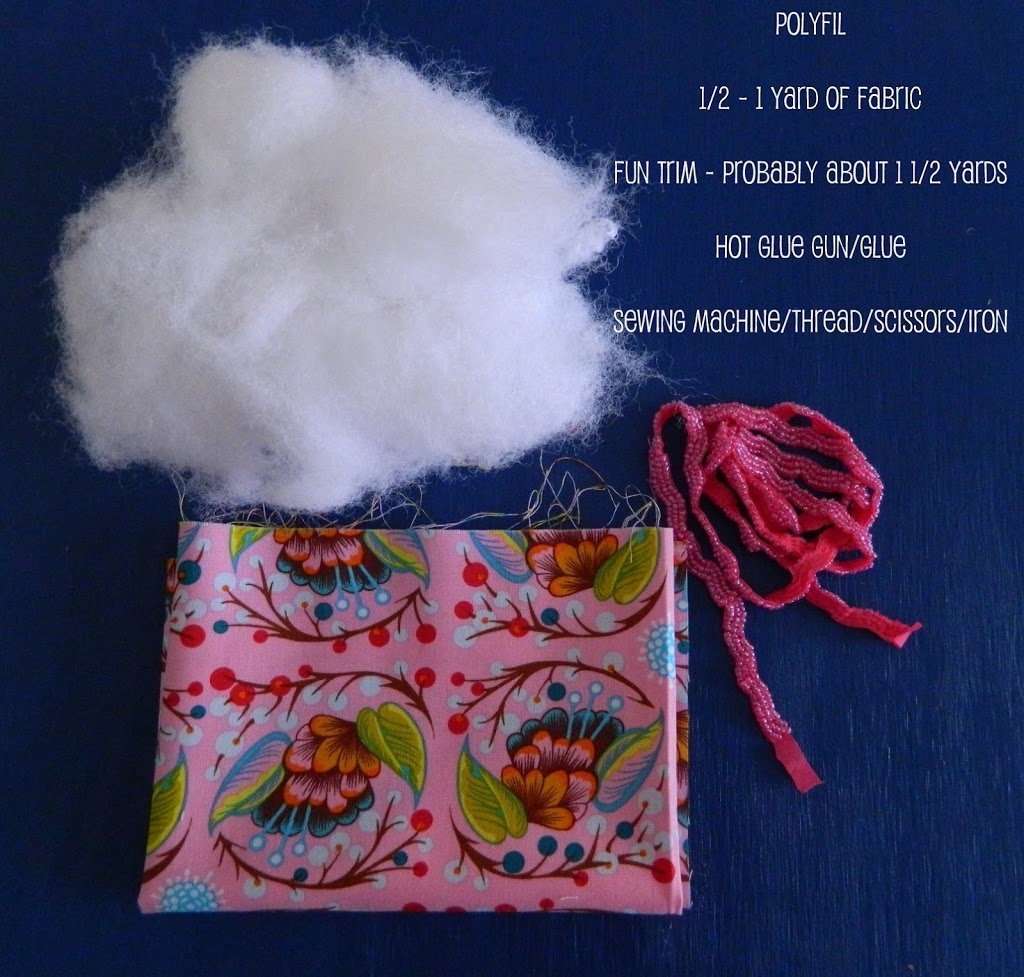
My finished dimensions are for a letter L – 21″x17″ (those are the long sides of the L). Your trim should be only about 3/8″ – 1/2″ wide.
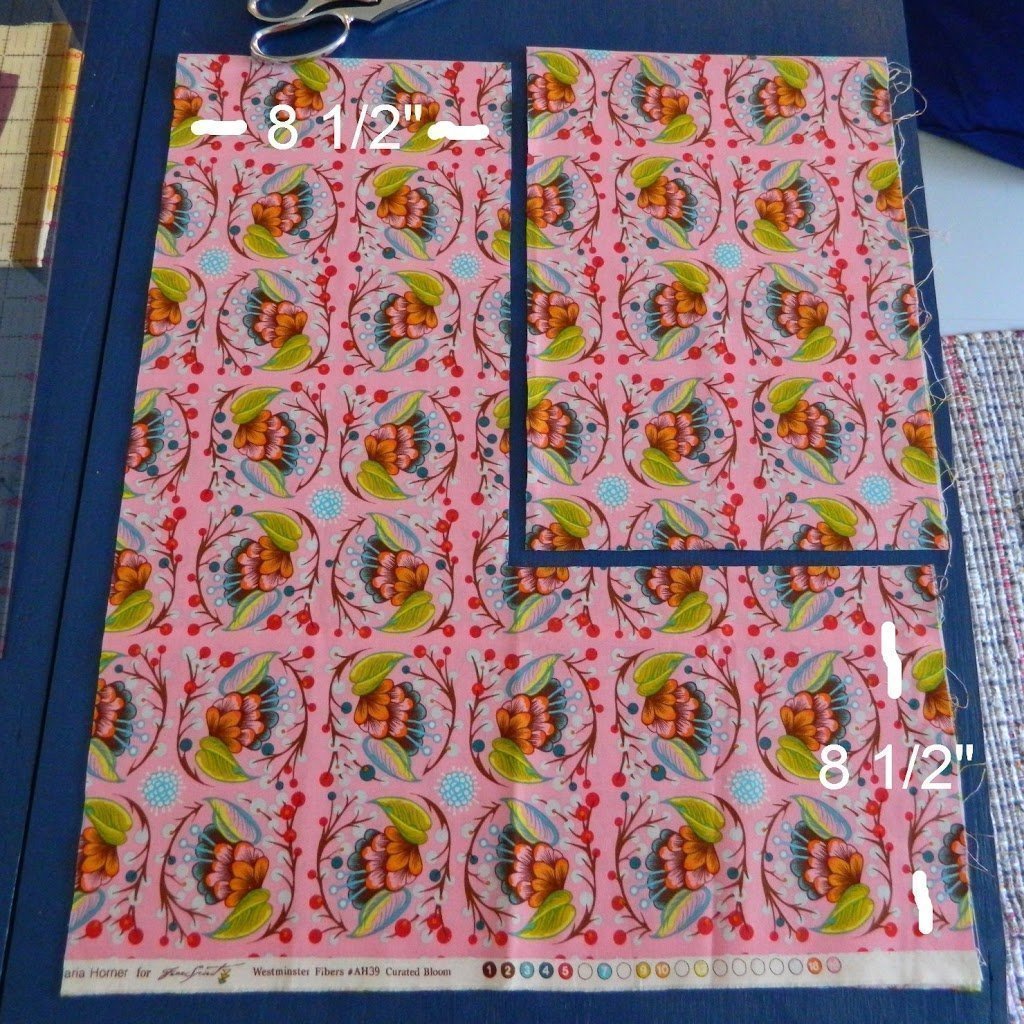
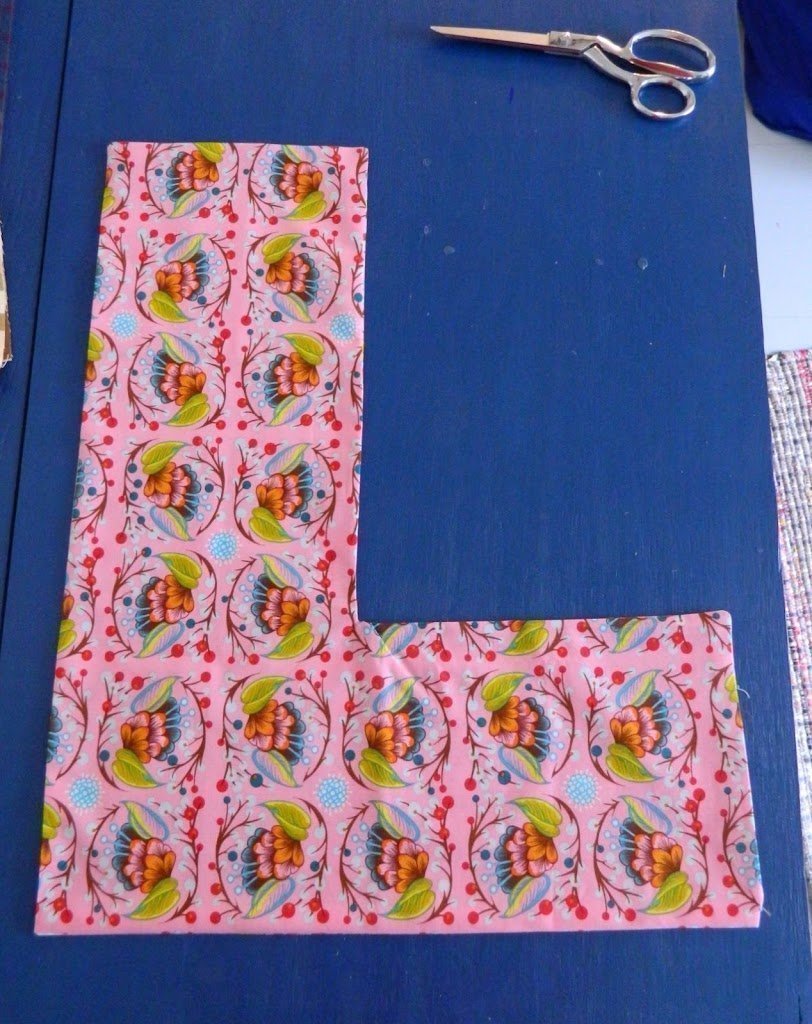
Step 1: Go ahead and heat up your glue gun now – then, with your fabric folded in half, selvage to selvage, begin to take measurements. From the top left corner measure 8 1/2″ and put a mark. From the center of the bottom edge, measure up 8 1/2″ and put a mark. From the bottom right corner measure up 8 1/2″ and put a mark. Connect the dots by drawing lines to complete the L. Cut along those lines.
The top edge of the L will still be a fold – cut along the fold so that you have a front L and a back L.
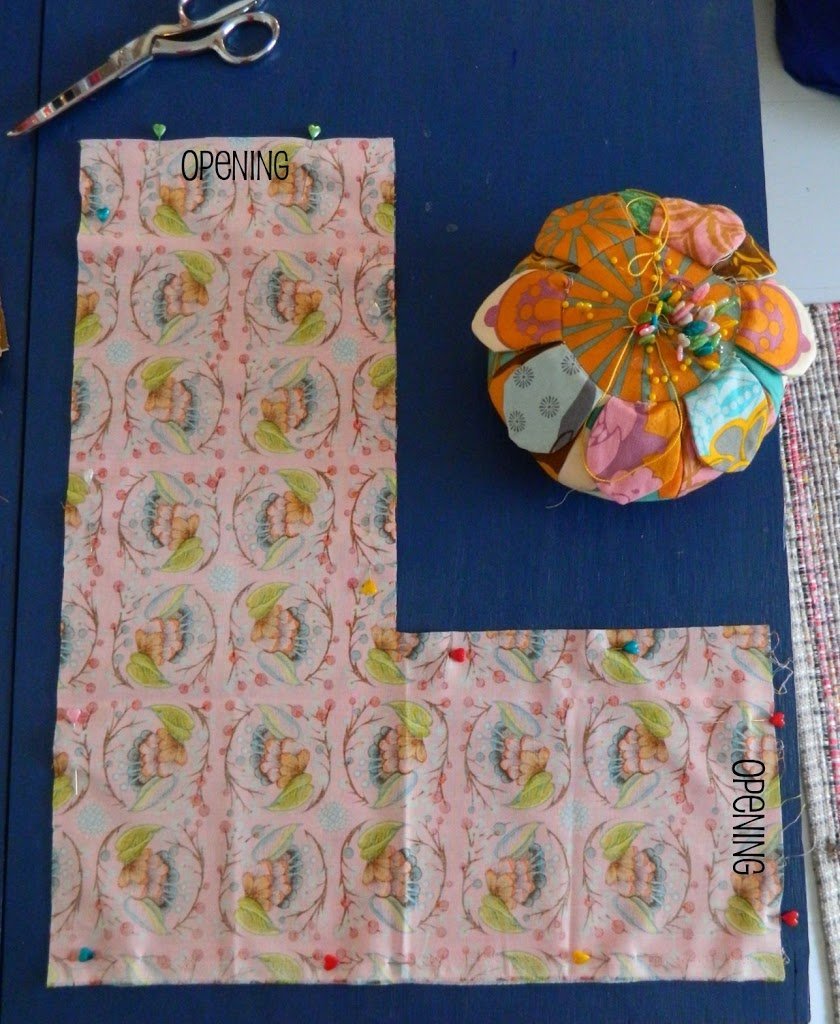
Step 2: Lay the front and back pieces right sides together and pin along the edges. When you sew, you are going to leave 2 openings. One at the top of the L and one at the bottom right edge of the L.
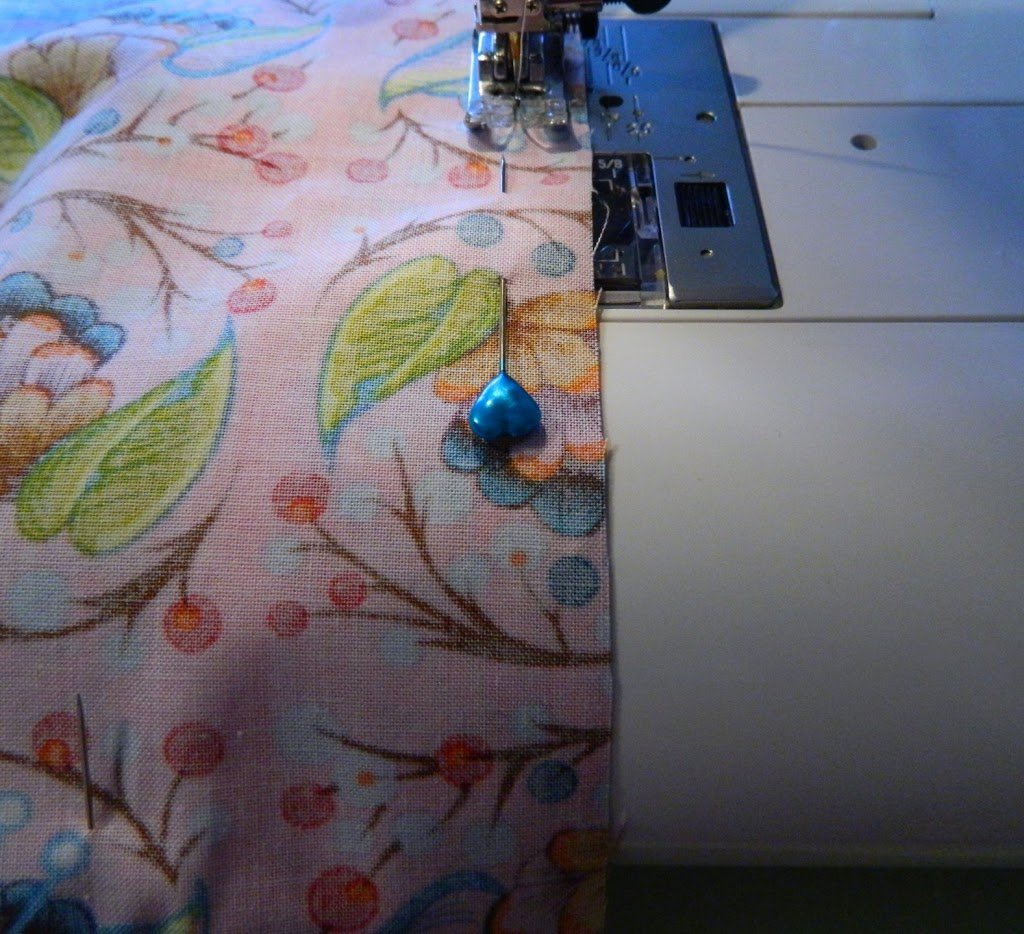
Sew along the edge using 1/2″ seam.
Step 3: Cut every corner diagonally about 1/8″ from the seam. This will make the corners pretty when you flip it right sides out.
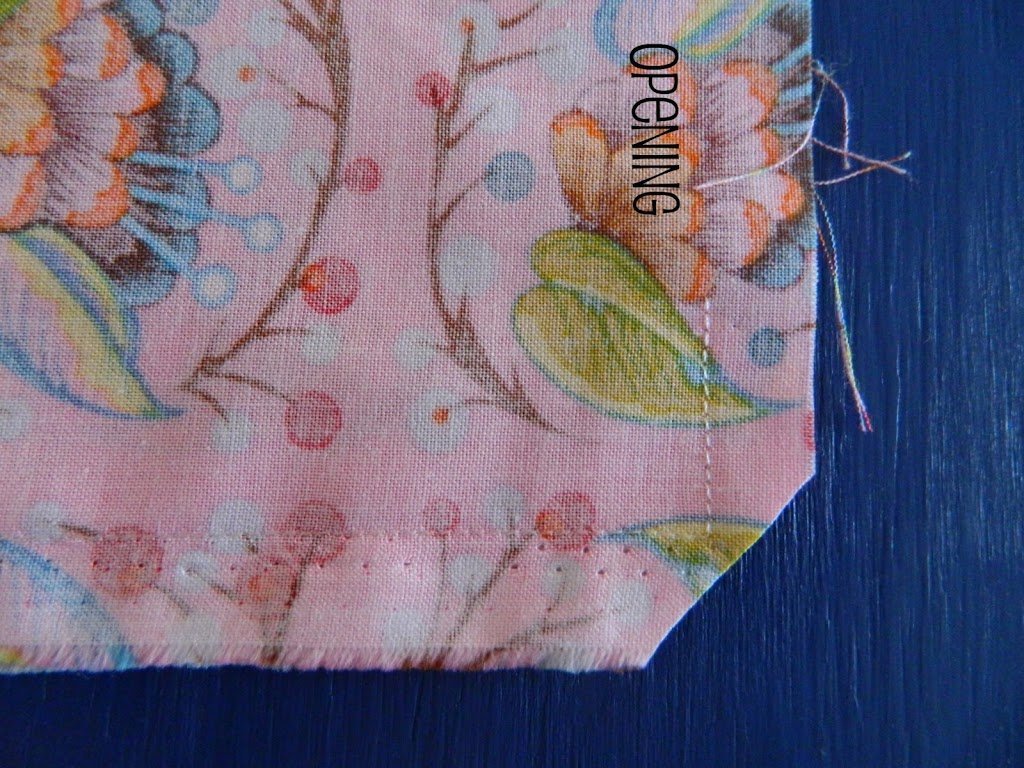
Also clip the inside corner of the L to within 1/8″ of the seam.
(If you are doing a different letter with more corners or curves be sure to clip all of them)
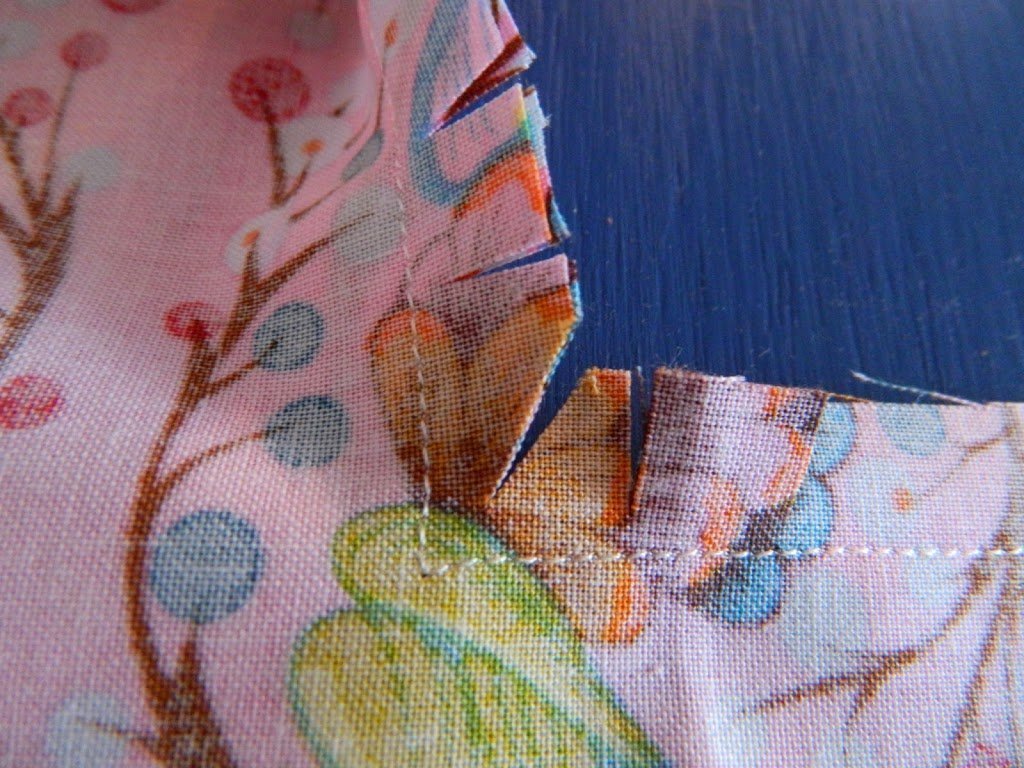
Step 4: Flip the letter right sides out and press it well. You may need to use a ripper to gently pull the corners right sides out.
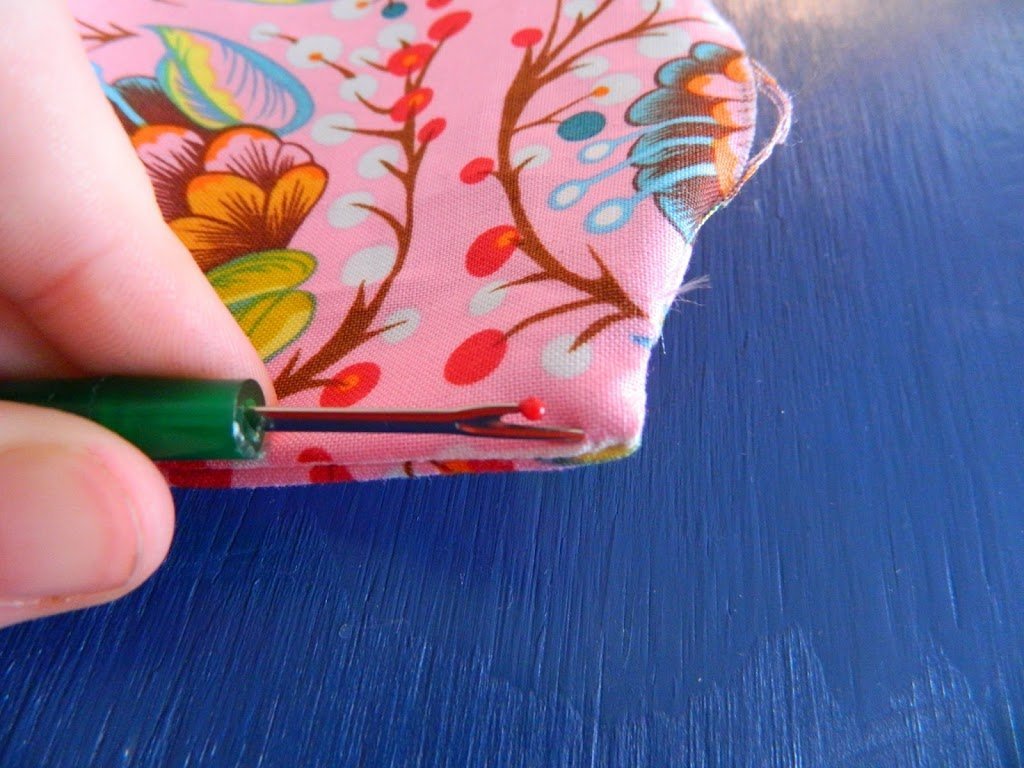
Be sure along the openings to press the fabric in 1/2″ to prepare it for closing.
Step 5: Stuff the letter with polyfil. You want to give it some shape, but not make it too poofy. Another option would be to use batting in the shape of an L – but you would have to insert it back in step 3.

Step 6: Pin the openings closed.

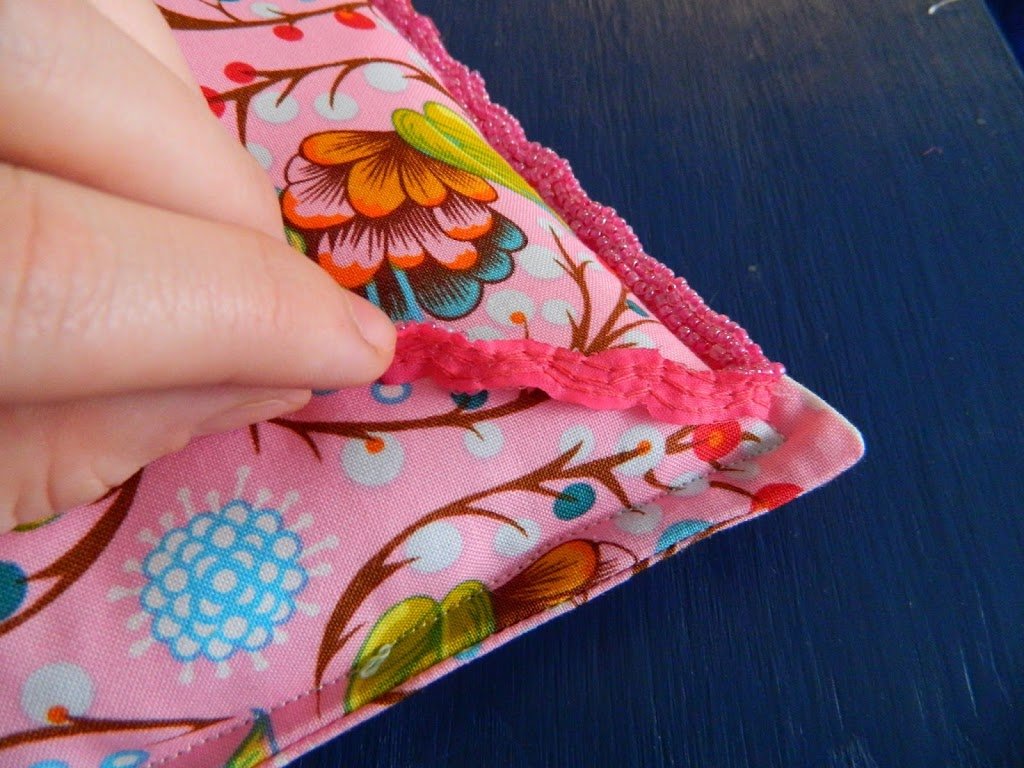
Starting at the top corner, sew the opening closed – using 3/8″ seam. Continue sewing around the entire letter. This little flange or ledge is what you will glue your trim onto.
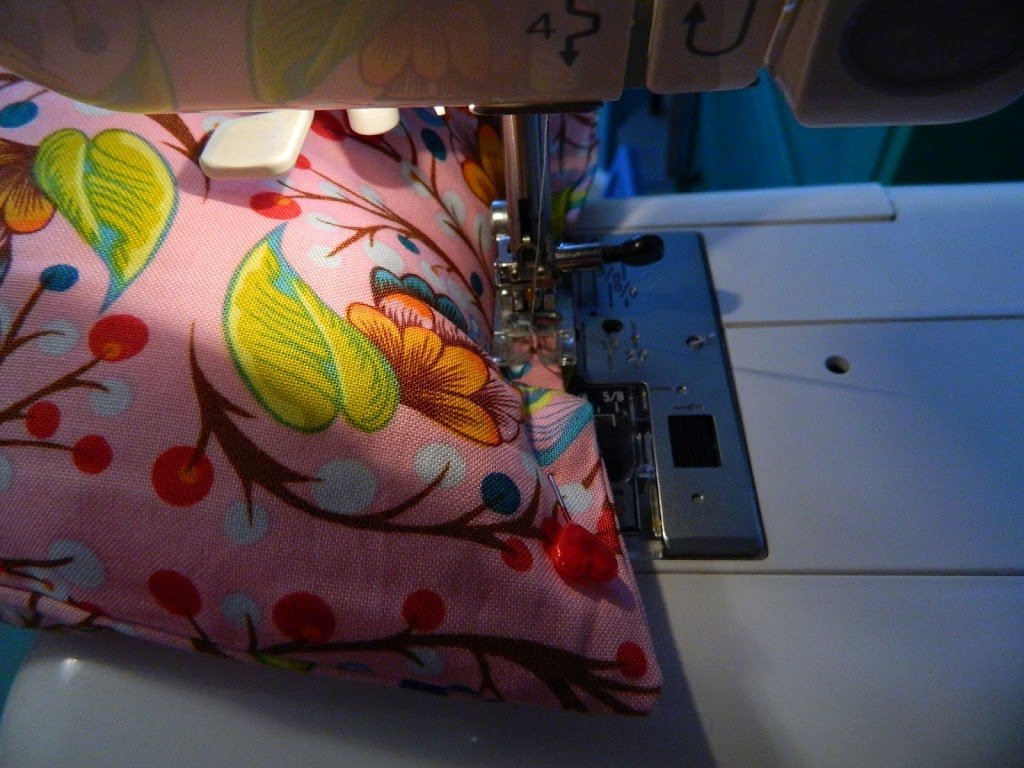
This is a little bit tricky.
The key is to go slowly and really guide the letter through the machine – kind of squeezing the stuffing out of the way as you go.
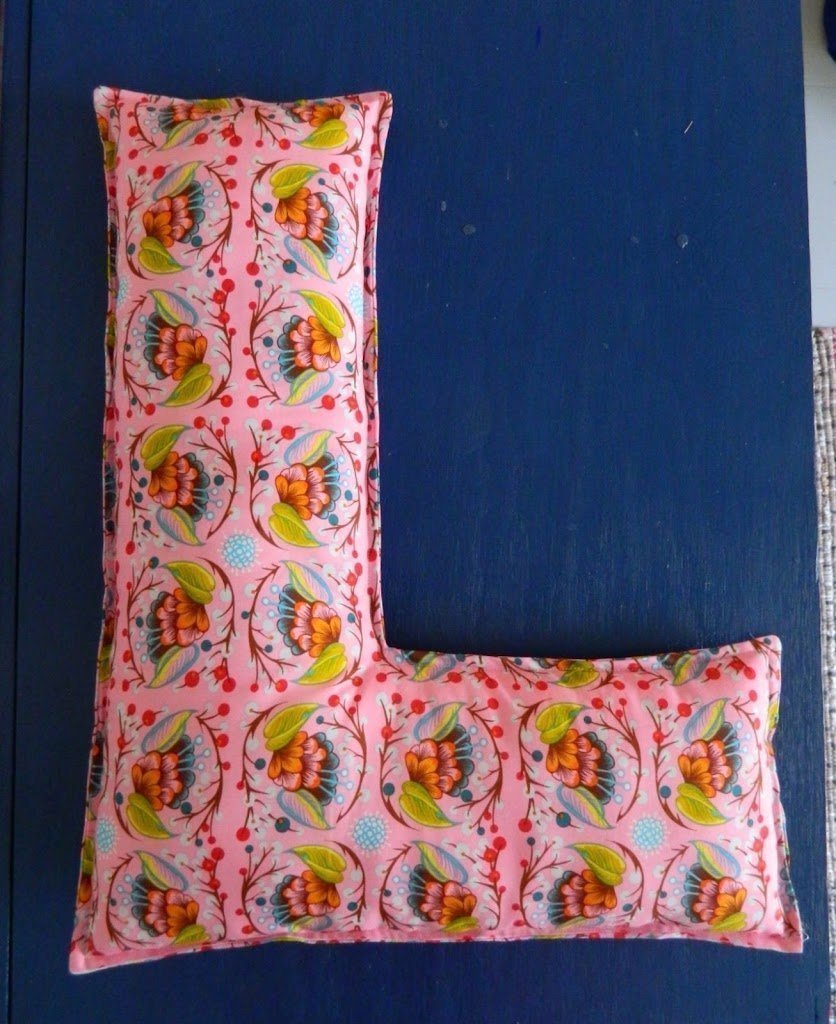
It should look like this when you’re finished.

Step 7: Starting at one corner, glue the trim onto the little flange you made. Go slowly and just use a small amount of glue
Step 8: Lastly, hot glue little pieces of ribbon or rick rack to the back to use when hanging. I put one in the center of the top edge, and one in the top corner of the far left edge.

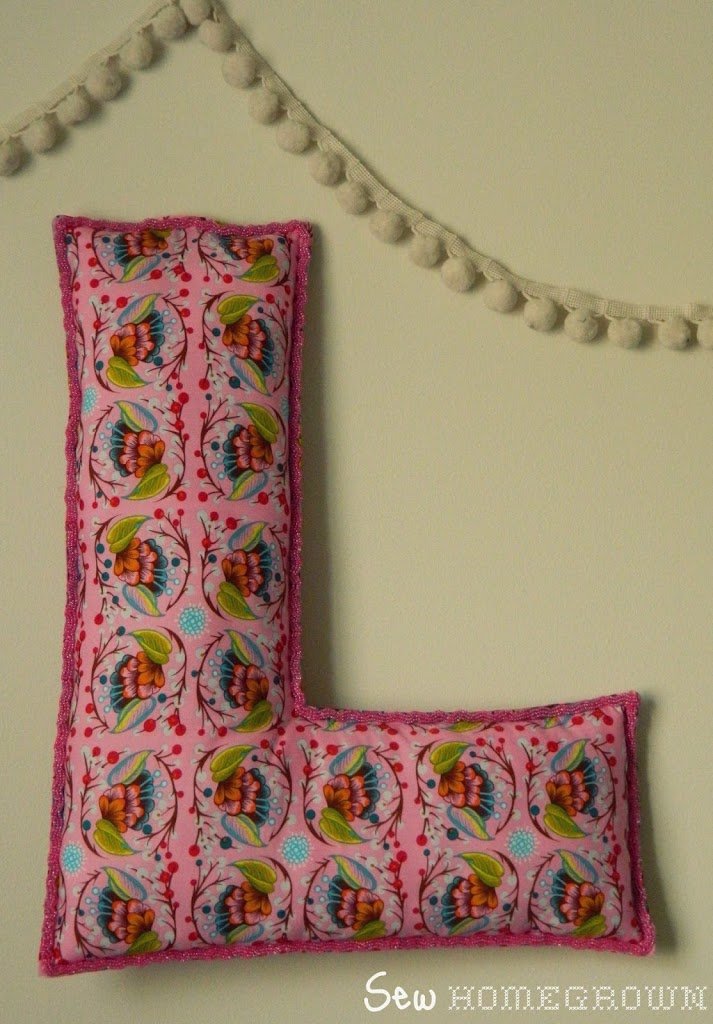
That’s it!! A sweet little letter to hang on the wall or put on a shelf or toss on a bed!!
Happy sewing everyone!!
xoxo
jessica


